


Trophy Guide Preview
Overall Trophy Progress
0 / 53 Completed
0%
Trophy Types
Platinum
0 / 1Gold
0 / 1Silver
0 / 10Bronze
0 / 41Categories
Missable
0 / 4Collectible
0 / 29Grind
0 / 3Combat
0 / 10Misc
0 / 3Story
0 / 3

Possess the bodies of fallen warriors and carve your way through a ravaged dark-fantasy world in this brutal action RPG. Master faster combat, upgrade a wide range of weapons, uncover the memories of eight unique Shells, and hunt down false gods across an open world.
Overall Trophy Progress
0 / 53 Completed
0%
Platinum Path
EARLY GAME Start by working through the opening section carefully, because two missable trophies can only be earned here: Mid Summer and No, You Still Can’t Win. These are especially important because New Game+ starts you back in Marrow Keep and skips the tutorial section entirely, so if you miss either one, you will need a fresh playthrough. Once you reach Marrow Keep, focus on getting comfortable with the returning...
Completion Video Playlist
1 video
MORTAL SHELL 2 - 100% Platinum Walkthrough 1/25 - Full Game Trophy / Achievement Guide
Trophy: No Lifer
Unlock All Trophies for Mortal Shell II
Type: Platinum
Unlock Details
Unlock All Trophies for Mortal Shell II

Trophy: Bag Holder
You’ve mastered nothing and this is your reward. Pretty pointless, eh?
Type: Bronze
Category: Missable
Unlock Details
Complete Baghead’s interaction chain and trigger the joke ending. Baghead can be found southwest of the Gloomshade Grove Beacon, beyond the Bone Gates in an area called Desolate Peak. Speak with him a few times until he asks you to sit down with the other NPCs nearby. Sit down once. After that, speak with Baghead again and keep answering Yes to his questions. Eventually, he will ask you to bring him something. Do not give him any of the nearby items. Instead, sit down again. After sitting for the second time, speak with Baghead once more and continue answering Yes. This will trigger the joke ending scene and unlock the trophy. You can skip the credits afterward, then reload your save to return to the nearby Beacon.
Tip
Once Baghead asks you to bring him something, ignore the items around the area and continue the sit-and-talk sequence instead.
Warning
This trophy is missable for the current playthrough. Giving Baghead one of the requested items will prevent you from triggering the joke ending on that run. You mastered nothing. You accomplished nothing. And somehow, you still got a trophy. Baghead would be proud.
Trophy: Mid Summer?
Enter the Festival
Type: Bronze
Category: Missable
Unlock Details
Accept the flower crown from Marigold during the tutorial. Very early in the game, while walking toward your first Shell, you will encounter Marigold. She offers you a flower crown. Interact with her and accept it to unlock the trophy.
Warning
This can be missed if you ignore Marigold or refuse to take the crown. Because New Game+ skips the tutorial section, you cannot clean this up there. If you miss it, you will need to start a new save in another slot and accept the crown during the opening. In a game full of ruined bodies, corrupted lands, and horrible things waiting to kill you, naturally the dangerous choice is refusing a flower crown.
Video Guide: https://www.youtube.com/watch?v=Gx9UyLBPFQ4&list=PLJ0d3cxEG9IA&index=29

Trophy: No, You Still Can't Win
Take the Tar Golem to his Minimum Health
Type: Bronze
Category: Missable
Unlock Details
Reduce the Tar Golem’s health to 0 during the tutorial. The Tar Golem is designed like a traditional Soulslike tutorial boss, where you are expected to lose. For this trophy, you need to ignore that expectation and actually empty its health bar. Take the fight patiently and chip away at the boss whenever you have a safe opening. Watch closely for its large unblockable attacks, especially the jumping ground slam. Getting caught directly by one of these can immediately end the fight. Its normal attacks can be parried, and successfully staggering the Tar Golem gives you an opportunity to land a Riposte for heavy damage. Do not play too defensively, though. The fight will eventually end if you take too long, so keep applying pressure when it is safe.
Tip
If you are struggling, defeat the Tainted Vestige near the Disciple’s Grotto Beacon first. It drops the Burnt Effigy, which reduces the Fire damage dealt by the Tar Golem.
Warning
This trophy is missable. The Tar Golem is only fought during the tutorial and does not return in New Game+. If the fight is going badly, quit to the main menu before it ends and reload to restart from before the Bone Gate.
Video Guide: https://www.youtube.com/watch?v=_8JkR7eqSZY
Trophy: Peter's Perfect Parry
Perfect Guard each one of The Nameless Captive's headspins using the Untarnished Seal
Type: Bronze
Category: Missable
Unlock Details
Perfect Guard all 7 hits of The Nameless Captive’s slower headspin attack using the Untarnished Seal. The Nameless Captive is the main boss of the Prisoner’s Domain and is heavily built around parrying, so most of its attacks have clear, consistent timing. The attack you need happens during the second phase. Once the boss reaches half health, it will automatically become stunned and then immediately perform a very fast 7-hit headspin. That first rapid spin is not the attack required for the trophy. Afterward, continue fighting until The Nameless Captive performs a similar 7-hit headspin in the opposite direction. This version is slower and has noticeable gaps between some of the hits. Perfect Guard every hit of this entire sequence with the Untarnished Seal. The final hit is particularly tricky because the boss pauses briefly before attacking again, so do not let the earlier rhythm bait you into parrying too soon. If you successfully Perfect Guard the full sequence, the trophy unlocks immediately.
Tip
Try to keep the boss near a wall when the headspin begins. This can stop you from being pushed too far across the arena and make the final attack easier to see. Avoid parrying the boss’s other attacks while waiting for the correct headspin. Dodge them instead so you do not build too much stun and accidentally interrupt the required combo. If your character keeps stunning The Nameless Captive before all 7 hits are finished, try Eredrim if you have him upgraded. He has an ability that can increase the Perfect Guard window.
Warning
This trophy is missable during the fight. If the boss is nearly dead and you still have not unlocked it, quit to the main menu before finishing the fight. When you continue, you will be placed back at the Beacon before the boss so you can try again. Seven perfect parries in one combo. Because apparently defeating the boss was not enough. The game also wants you to disrespect him professionally.
Video Guide: https://www.youtube.com/watch?v=mvqDy7KAEFg
Trophy: Arrival
Unlock Proxima
Type: Bronze
Category: Collectible
Unlock Details
Unlock Proxima. Travel northeast of the Blackridge Pass Beacon. Look for the structure resembling a Beacon and enter it to access the Shattered Beacon dungeon. Make your way toward the back of the area. You will find a body lying on the ground. Interact with it to unlock Proxima as a Shell and earn the trophy.
Tip
Proxima is one of the first two Shells automatically marked on your map.
Warning
Proxima is not missable. You entered a shattered dungeon and walked out wearing somebody else. Standard Mortal Shell procedure.
Trophy: Beautiful Baby
Unlock the Cursed Child
Type: Bronze
Category: Collectible
Unlock Details
Unlock the Cursed Child. Start from the Sester’s Gate Beacon. Head up the northwestern stairs toward the rolling enemy, then continue onto the western platform. Drop down to the ledge below where you will find a Bone Gate. Follow the path north, move past the hammer-wielding enemy, and look to the right for the entrance to the Revered Beacon dungeon. Inside, avoid the golden light coming from the central tower. If the light spots you, it will track you and continuously damage you until you break line of sight behind a wall. The light can also target enemies, although it damages them fairly slowly. Work your way counterclockwise around the area and climb the hill toward the tower. Once you reach it, attack the central pillar to disable the golden light. You can then safely pick up the Cursed Child.
Tip
Use walls and other cover to keep breaking the tower’s line of sight while you move around the dungeon.
Warning
This Sidearm is not missable. A weapon named Cursed Child sitting underneath a murderous golden spotlight. Nothing about this situation feels suspicious at all.
Trophy: Big Boi
Unlock Great Martyr's Blade
Type: Bronze
Category: Collectible
Unlock Details
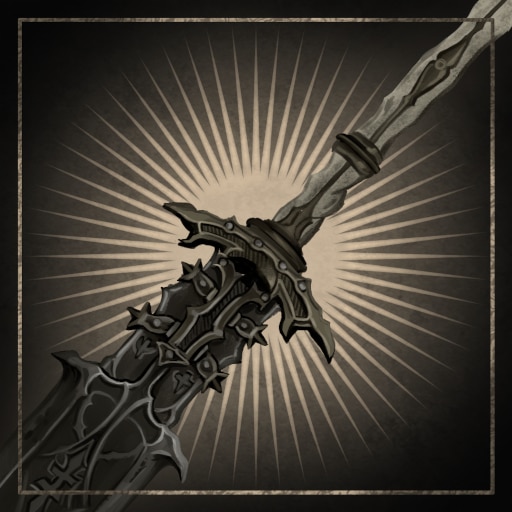
Unlock the Great Martyr’s Blade. Head northwest of the Gloomshade Grove Beacon. Follow the paths toward the northeast outer corner of the castle until you find a hole in the wall leading into the Martyr’s Prison dungeon. You can also reach the nearby area through the back entrance from the Holding Cells Dungeon. Once inside Martyr’s Prison, interact with the bag sitting on the stone counter to move into the next area. Continue through the dungeon until you reach a locked room with 4 enemies. Defeat all 4 to open the way forward. Enter the next room and claim the Great Martyr’s Blade to unlock the trophy.
Tip
This weapon is not missable and can still be collected after the final boss. The name “Great Martyr’s Blade” is doing absolutely nothing to hide the fact that this thing is enormous.
Video Guide: https://www.youtube.com/watch?v=ESerOnd7gIU&list=PLJ0d3cxEG9IA&index=16
Trophy: Bring My Ova Back to Me
Collect all of the Ova
Type: Silver
Category: Collectible
Unlock Details
Collect all 196 Ova. Ova are the egg-like rewards you receive from cleansing Beacons throughout the world. You do not need to hunt for Ova separately. Every one is tied to Beacon progression, so clearing the required Beacons will eventually give you the full set. There are 49 Beacon locations in total. Only 46 of them actually need to be cleansed because these 3 are already cleansed when you first find them: Marrow Keep Widow’s Overlook Outskirts of Mammon The other 46 Beacons contain short dungeon-like sections with enemies and, in some cases, minibosses. Reach the end of each Beacon and claim its Ova reward. The Beacons that appear after the 6 main bosses award the largest amount, with 26 Ova each. You need all 196 Ova total for the trophy. The full Beacon list is: Marrow Keep: Marrow Keep Fainweald: Stonebled Gate Mushroom Village Gate Nochtean Gate Mushroom Village Outskirts of Nochte Blackridge Pass Widow’s Overlook Gloomshade Grove Citadel of Penance One Legged Wolf Ruins of Mammon: Outskirts of Mammon Sester’s Gate Gate of Infinity Castigator’s Keep Abbey Entrance Abandoned Outpost Gate of Mammon The Silent Steps High Lord’s Courtyard Glutted Mire: Seeping Mire Sunken Village Magdalena’s Glade Prisoners’ Domain: Hangman’s Scaffold Executioner’s Pulpit Slumwater Drain Captive’s End Sanguine Caverns: Pulsing Caves Sanguine Shoreline Child’s Feeding Grounds Conquered Temple: Ovate’s Chamber Winterglass Lake Conqueror’s Hoard Faded Citadel: Citadel Annex Citadel Atrium Scholar-Prince’s Chamber Withered Shoals: Nameless Pass Ossinite Falls Hexapod’s Burrow The Unfound Path: The Hidden Nave Receiving Hall Faithful’s Shelter Brether’s Court Obsidian Vault Bridge of Procession Empty Cradle Chamber of the Forsaken Disciple’s Pass: Disciple’s Grotto Village Outskirts
Tip
Because Beacons double as fast-travel points, cleanse them as you naturally reach new areas instead of leaving all 46 for the end. If you are missing Ova, compare your fast-travel list against the Beacon list above. That is much easier than wandering around the world hoping to stumble into the last one.
Warning
The trophy tracker only tracks 46 Beacons, not all 49, because Marrow Keep, Widow’s Overlook, and Outskirts of Mammon begin already cleansed. None of the Beacons are missable. You can clean up any you missed after the final boss before choosing New Game+. One hundred and ninety-six Ova. At some point this stops feeling like saving the world and starts feeling like the most aggressive egg collection in history.
Trophy: Chop Chop
Unlock the Salvaged Trebuchaxe
Type: Bronze
Category: Collectible
Unlock Details
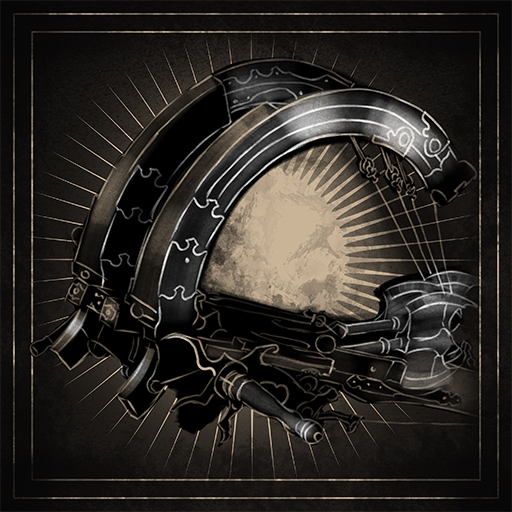
Unlock the Salvaged Trebuchaxe. Travel south from the Gloomshade Grove Beacon. The Ravaged Hideout dungeon becomes accessible after defeating the nearby Bloodcursed Lithopod boss. Once the boss is down, enter the Ravaged Hideout. Follow the dungeon’s main path until you reach the final room. The Salvaged Trebuchaxe is located on a body there. Pick it up to unlock the trophy.
Warning
This Sidearm is not missable. Someone looked at a trebuchet and an axe and apparently decided choosing one was cowardice.
Video Guide: https://www.youtube.com/watch?v=DqxuFPVwuUA&list=PLJ0d3cxEG9IA&index=13
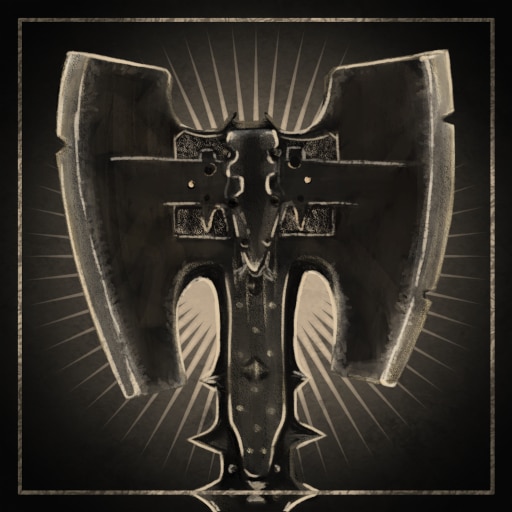
Trophy: Cut You Down to Size
Unlock the Veteran's Battle Axe
Type: Bronze
Category: Collectible
Unlock Details
Unlock the Veteran’s Battle Axe. Travel northwest of the Shattered Beacon dungeon. Head into the nearby cave to enter The King’s Crypt dungeon. Follow the main path through the dungeon. Eventually, you will drop down a long hole. The Veteran’s Battle Axe is on a body right beside an enemy after the drop. Claim the weapon to unlock the trophy.
Warning
This weapon is not missable. Nothing says “veteran” quite like leaving an enormous axe lying next to a corpse in a crypt.
Video Guide: https://www.youtube.com/watch?v=X6bjsWm6Vkg&list=PLJ0d3cxEG9IA&index=22
Unlock Details
Unlock the Veteran’s Battle Axe.
Travel northwest of the Shattered Beacon dungeon.
Head into the nearby cave to enter The King’s Crypt dungeon.
Follow the main path through the dungeon.
Eventually, you will drop down a long hole.
The Veteran’s Battle Axe is on a body right beside an enemy after the drop.
Claim the weapon to unlock the trophy.
Warning
This weapon is not missable.
Nothing says “veteran” quite like leaving an enormous axe lying next to a corpse in a crypt.
Trophy: Deep Cuts
Unlock Axe and Dagger
Type: Bronze
Category: Collectible
Unlock Details
Unlock the Axe and Dagger. Start south of the Mushroom Village Beacon and head toward the area with the large burning pyre. On the north edge of the platform, walk through the arch while facing the fire. A statue will appear. Take the Chapel Key from the rope hanging from the statue. Now head northwest of the Mushroom Village Beacon and use the Chapel Key to open the doorway leading into the Shrine of Trials dungeon. Progress through the dungeon until you reach the weapon. In the first room, walk backwards through the wall facing the statue. In the later rooms, hit the movable blocks with your weapon to push them onto the floor switches. Reach the end of the dungeon and claim the Axe and Dagger to unlock the trophy.
Tip
The merchant Merrick in Marrow Keep sells maps that mark approximate weapon locations, but you do not need to buy them if you are following a guide.
Warning
This weapon is not missable. You can return for it after the final boss before entering New Game+. Two blades. One trophy. Twice the cutting potential.
Video Guide: https://www.youtube.com/watch?v=sJpk4yFk0Is&list=PLJ0d3cxEG9IA&index=27
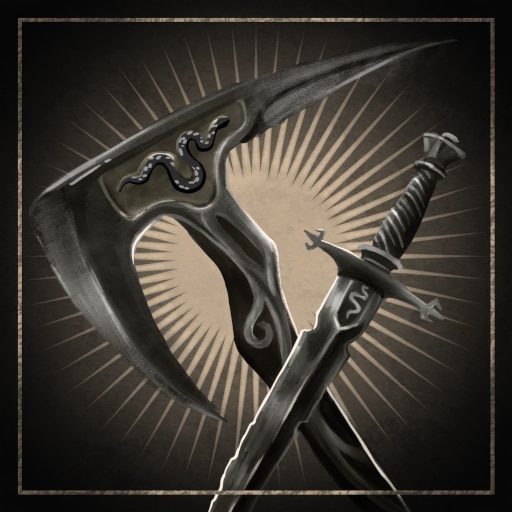
Trophy: Down with the Thickness
Unlock Lazlo
Type: Bronze
Category: Collectible
Unlock Details
Unlock Lazlo. Start at the High Lords Courtyard Beacon. Head west until you find the large stairwell leading underground. Follow the underground path all the way to the end, where you will face Vellen, High Lord of Mammon. Defeat Vellen. After the fight, enter the room behind the boss arena and interact with the body inside. This unlocks Lazlo as a Shell and earns the trophy.
Warning
Lazlo is not missable and can still be collected after the final boss. The trophy name prepared you for this. Lazlo did the rest.
Video Guide: https://www.youtube.com/watch?v=9J3poU2JI9Y&list=PLJ0d3cxEG9IA&index=15
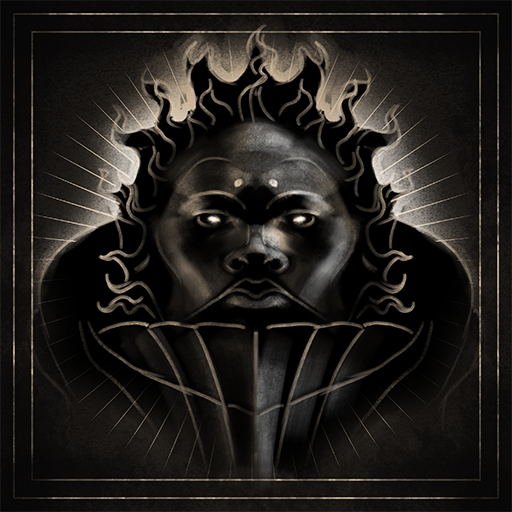
Trophy: Dual Wielding
Unlock the Axatana
Type: Bronze
Category: Collectible
Unlock Details
Unlock the Axatana. Travel northeast of The Silent Steps Beacon. Follow the path all the way to the highest northeastern point of the area. There you will find a Bone Gate leading toward the tower near the eastern Corrupt Gate. Go around to the back of the tower and press the button to open the gate. Enter the tower. The Axatana is inside, positioned behind an enemy. Defeat or move past the enemy and claim the weapon to unlock the trophy.
Warning
This weapon is not missable. Sword? Axe? Why choose when the game is perfectly happy to hand you both at once.
Video Guide: https://www.youtube.com/watch?v=hBqVmTI2RSk&list=PLJ0d3cxEG9IA&index=12
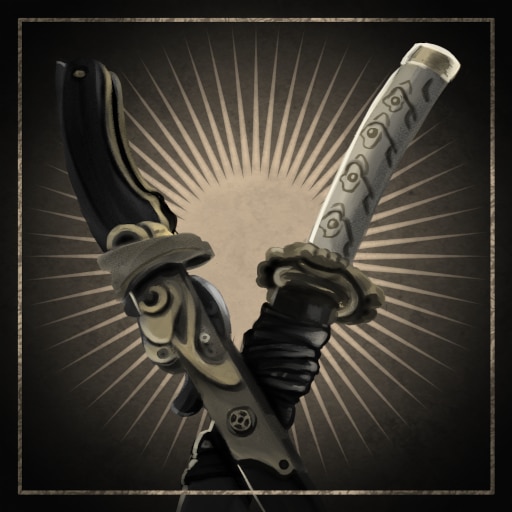
Trophy: Forever Alone?
Unlock Tiel
Type: Bronze
Category: Collectible
Unlock Details
Unlock Tiel. Travel southeast of the Widow’s Overlook Beacon. Inside the marked search area, look for a grave where you can see the outline of a body. Interact with the grave to claim Tiel as a Shell and unlock the trophy.
Tip
Tiel is one of the first two Shells automatically marked on your map, making him one of the easiest to find early.
Warning
Tiel is not missable. Forever alone? Not anymore. You just moved into his body.
Video Guide: https://www.youtube.com/watch?v=g7u1f1svbc0&list=PLJ0d3cxEG9IA&index=23
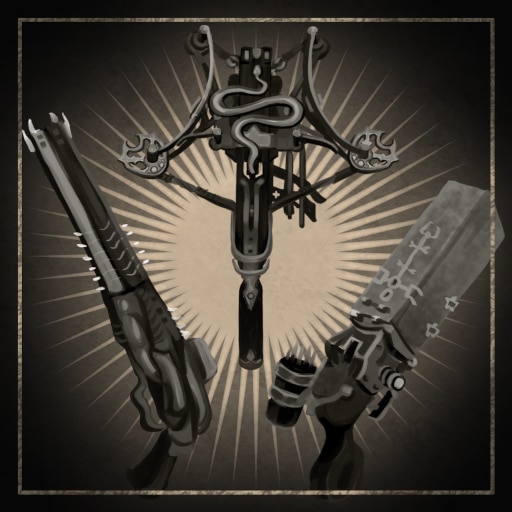
Trophy: Guns. Lots of Guns
Unlock all Sidearms
Type: Silver
Category: Collectible
Unlock Details
Unlock all 8 Sidearms. The 8 Sidearms are: Nayleshotte Forgotten Crossbow Salvaged Trebuchaxe Troubadour’s Lute Triach Repeater Ballistazooka Cursed Child Caged Hystrix The Nayleshotte is obtained automatically during the Prologue. The Forgotten Crossbow is found inside the Flooded Village dungeon northwest of Blackridge Pass. The Salvaged Trebuchaxe is inside the Ravaged Hideout south of Gloomshade Grove. The Troubadour’s Lute is on the stage inside the One Legged Wolf Tavern. The Triach Repeater is inside Blackwell Cavern near Castigator’s Keep. The Ballistazooka is awarded after defeating the Subjugated Guardian in Sentry’s Grave. The Cursed Child is inside the Revered Beacon dungeon near Sester’s Gate. The Caged Hystrix is found near the exit of the Chamber of Becoming after fully defeating Sariel, the Endless. Collect all 8 and the trophy will unlock.
Tip
Grab the Caged Hystrix while working on Sariel and the Clockwork Scythe so you can finish several collectible requirements in one trip.
Warning
None of the Sidearms are missable and all can still be collected after the final boss before entering New Game+. Eight Sidearms. Because apparently one backup weapon was not enough reassurance.
Video Guide: https://www.youtube.com/watch?v=BKjymMlYs2o&list=PLJ0d3cxEG9IA&index=4
Trophy: Haunting Times
Watch your first Shell Memory
Type: Bronze
Category: Collectible
Unlock Details
View your first Shell Memory through the Shellkeeper. When you unlock a new Shell, the game may show you a memory automatically, but that does not count for this trophy. You need to visit the Shellkeeper and open the bond menu for one of your Shells. From there, choose a Shell Memory and view it manually. The trophy will unlock once you watch your first memory this way.
Tip
Do this as soon as the Shellkeeper becomes available so you know the menu interaction is registered correctly. Apparently unlocking a Shell is not enough. You also have to sit down and unpack the emotional baggage.
Trophy: Heartless
Unlock Gragu
Type: Bronze
Category: Collectible
Unlock Details
Unlock Gragu. This Shell requires a few more steps than most. Start east of the One Legged Wolf Beacon. Follow the path all the way east and use the jump to reach the Temple of Vatra area. Before doing anything else, pick up the Tarstone from the nearby chest. Do this first. Then head up the stairs at the back of the area and take the Heart of Vatra from the hands of the statue. Now travel southeast of the One Legged Wolf Beacon and enter the One Legged Wolf Tavern. Speak with Gragu, who is sitting at the table to the left of the Tavern Keeper. Keep talking to him until you receive the option to give him an item. Give Gragu the Heart of Vatra. After he dies, choose to inhabit him. This unlocks Gragu as a Shell and earns the trophy.
Tip
Exhaust Gragu’s dialogue until the item-giving option appears.
Warning
Pick up the Tarstone near the Temple of Vatra before taking the Heart of Vatra. Taking the Heart first can lock you out of returning to that area and cost you the Tarstone. Gragu himself is not missable, but that nearby Tarstone can be locked out if you do these steps in the wrong order. You brought Gragu a heart. He died. You took his body. This relationship moved very quickly.
Trophy: Like Clockwork
Unlock the Clockwork Scythe
Type: Bronze
Category: Collectible
Unlock Details
Unlock the Clockwork Scythe. Travel southeast of The Silent Steps Beacon and head toward the large stone platform. There you will encounter Sariel, the Endless. Defeat him once and he will retreat through the southern walls, opening the path into the Chamber of Becoming dungeon. Follow him inside and continue through the dungeon until you fight him again. During the final encounter, attack and destroy the tombstones around the room to stop Sariel from reviving. There are 4 tombstones in total. Once all 4 are destroyed, finish Sariel for good. The Clockwork Scythe will be awarded automatically.
Tip
Do not ignore the tombstones during the final fight. They are the key to stopping the resurrection loop.
Warning
This weapon is not missable. If the boss calls himself “the Endless,” maybe take the hint and start breaking whatever is keeping him endless.
Video Guide: https://www.youtube.com/watch?v=8oN4QbM1g3o&list=PLJ0d3cxEG9IA&index=10
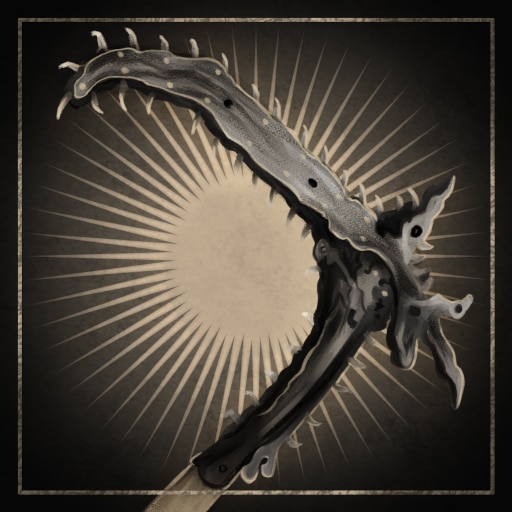
Trophy: Lord of War
Unlock all Weapons
Type: Silver
Category: Collectible
Unlock Details
Unlock all 8 melee Weapons. The 8 Weapons are: The Iconoclast Axe and Dagger Veteran’s Battle Axe Great Martyr’s Blade Obsidian Hammer Black Needle Axatana Clockwork Scythe The Iconoclast is obtained automatically during the Prologue. Axe and Dagger is found at the end of the Shrine of Trials after obtaining the Chapel Key near Mushroom Village. Veteran’s Battle Axe is inside The King’s Crypt northwest of Shattered Beacon. Great Martyr’s Blade is inside Martyr’s Prison northwest of Gloomshade Grove. Obsidian Hammer is awarded after defeating Prophet of Profane Infinities in the Obsidianite Mines. Black Needle is awarded after defeating Twin Sesters and Stray Sesters at Sester’s Gate. Axatana is found inside the tower northeast of The Silent Steps after opening the Bone Gate. Clockwork Scythe is awarded after fully defeating Sariel, the Endless, in the Chamber of Becoming. Collect all 8 Weapons and the trophy will unlock.
Tip
Merrick sells maps showing approximate Weapon locations, but save your Coin if you are already following the individual weapon entries in this guide.
Warning
None of the Weapons are missable and all can still be collected after defeating the final boss before entering New Game+. Eight weapons later, you are no longer choosing a fighting style. You are choosing what kind of problem you want the enemy to have.
Video Guide: https://www.youtube.com/watch?v=_KGmp0Gh7No&list=PLJ0d3cxEG9IA&index=2
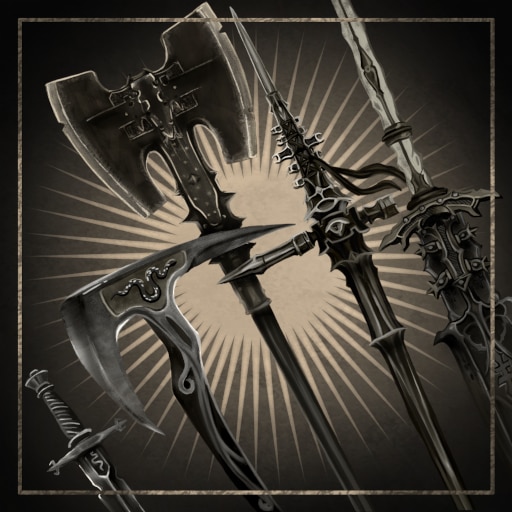
Trophy: My Brether
Unlock Smert
Type: Bronze
Category: Collectible
Unlock Details
Unlock Smert. Travel southwest of the Outskirts of Nochte Beacon. Look for the area containing enemies gathered around a stone circle. You need to make 3 blood offerings. To do this, kill enemies while they are standing on the stone circles. Once all 3 blood offerings have been completed, head toward the back of the area near the statue. Interact with the body on the ground to unlock Smert.
Tip
Lure enemies onto each stone circle before killing them so the sacrifice registers properly.
Warning
Smert is not missable. Three blood offerings later, you earn a new body. That is either ancient ritual magic or an extremely aggressive loyalty program.
Video Guide: https://www.youtube.com/watch?v=o-_uBlNl6F8&list=PLJ0d3cxEG9IA&index=7
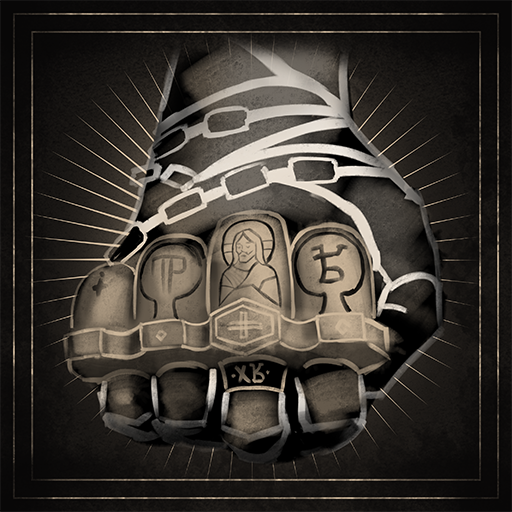
Trophy: Old Painless
Unlock the Triarch Repeater
Type: Bronze
Category: Collectible
Unlock Details
Unlock the Triach Repeater. Start at the Castigator’s Keep Beacon. Follow the paths down to the lower level of the area, or drop down behind the beacon if you have a safe route. From the lower level, follow the path north toward the cliff edge until you find the entrance to the Blackwell Cavern dungeon. Enter the dungeon and follow the main path. Partway through, you will reach the first brightly lit area. The Triach Repeater is lying on the ground here. Pick it up to unlock the trophy.
Warning
This Sidearm is not missable and can still be collected after the final boss. “Old Painless” is an optimistic name for something whose entire job is making other people experience pain.
Video Guide: https://www.youtube.com/watch?v=q5WILC0qIUY&list=PLJ0d3cxEG9IA&index=6
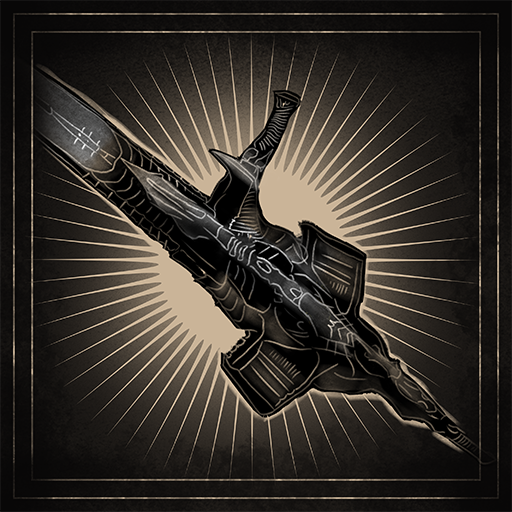
Trophy: Old School
Unlock the Forgotten Crossbow
Type: Bronze
Category: Collectible
Unlock Details
Unlock the Forgotten Crossbow. Travel northwest from the Blackridge Pass Beacon. Use the arc to open the doorway of the nearby building and enter the Flooded Village dungeon. Continue through the dungeon until you pass the second elevator and reach the underground village. Head to the back-left side of the village and look for a box beside one of the houses. Pick up the Damp Key from the box. Now return toward the center of the underground village and use the Damp Key to open the central building. The Forgotten Crossbow is sitting on a table inside. Pick it up to unlock the trophy.
Tip
Make sure you grab the Damp Key before searching the central building, or you will just be staring at a locked door wondering what ancient evil invented keys.
Warning
This Sidearm is not missable and can still be collected after the final boss. Old School indeed. Sometimes the answer to monsters, corruption, and cosmic horror is still just: crossbow.
Video Guide: https://www.youtube.com/watch?v=PBqpVglRPJI&list=PLJ0d3cxEG9IA&index=26
Trophy: Point Taken
Unlock Black Needle
Type: Bronze
Category: Collectible
Unlock Details
Acquire the Black Needle weapon. Travel to Sester’s Gate and enter the Beacon. Cleanse the Beacon, pass through the gate, and follow the tunnels until you reach Sester’s Bastion. Here you will need to solve the bell puzzle to fully assemble the bridge. Hit the first bell with a melee weapon. Continue down the left side of the bridge and activate the next bell. Head underneath the bridge, look to the left, and shoot another bell with a ranged weapon. Continue through the nearby encampment and shoot the remaining bell farther along the path. Once the bridge is fully assembled, cross it and use the jump pad at the end to reach the Twin Sisters boss encounter. Defeat the bosses to receive the Black Needle and unlock the trophy.
Tip
Bring a Sidearm with ammunition before starting the bell puzzle, since several of the bells need to be hit from range. A weapon called the Black Needle waiting at the end of a giant bell puzzle. Apparently stabbing things required an entrance exam.
Trophy: Sat Nav
Find all Map Fragments
Type: Silver
Category: Collectible
Unlock Details
Find all 11 Map Fragments. Map Fragments reveal sections of the overworld map and are all marked from the beginning of the game. Look for the crow symbols on your map. Each symbol leads to Ruk, who will be perched on top of a statue with a Map Fragment positioned in front of him. Visit all 11 crow-marked locations and collect every Map Fragment to unlock the trophy.
Tip
Use the crow icons as your checklist and grab each Fragment whenever you enter a new area rather than leaving all 11 for cleanup. Apparently even in a ruined nightmare world, getting lost is still considered your problem.
Trophy: Sester
Unlock Sester Genessa
Type: Bronze
Category: Collectible
Unlock Details
Unlock Sester Genessa. Start southeast of the Outskirts of Mammon Beacon and use the southeastern jump point to reach the Revenant Graves area. In the open area, head north toward the red glowing object surrounded by Genessa illusions. Interact with it to enter a dungeon area. Defeat Sester Secundus to automatically receive the Sester’s Censer. Return to Marrow Keep and speak with Sester Genessa. Give her the Sester’s Censer to unlock her as a playable Shell and earn the trophy.
Tip
You do not need to pay to have Genessa’s location marked before doing this.
Warning
Genessa is not missable and can still be unlocked after the final boss before entering New Game+. You defeated a Sester to unlock another Sester. Family reunions are complicated here.
Video Guide: https://www.youtube.com/watch?v=SMs5iMxktnM&list=PLJ0d3cxEG9IA&index=9

Trophy: Shell Seeker
Unlock all Shells
Type: Silver
Category: Collectible
Unlock Details
Unlock all 8 Shells. The 8 Shells are: Tiel Proxima Eredrim Smert Gragu Sester Genessa Lazlo Sariel Each Shell is found through exploration, specific interactions, or boss encounters. Tiel is southeast of Widow’s Overlook Beacon. Proxima is inside the Shattered Beacon Dungeon northeast of Blackridge Pass. Eredrim is obtained after defeating The Warden near the Citadel of Penance. Smert requires making 3 blood offerings southwest of Outskirts of Nochte. Gragu requires bringing him the Heart of Vatra at the One Legged Wolf Tavern. Genessa requires defeating Sester Secundus, obtaining the Sester’s Censer, and giving it to her in Marrow Keep. Lazlo is found after defeating Vellen, High Lord of Mammon. Sariel is unlocked after fully defeating Sariel, the Endless, inside the Chamber of Becoming. Once all 8 Shells have been unlocked, the trophy will pop.
Tip
You do not need to pay Gloom to reveal Shell locations if you are following the individual Shell entries in this guide.
Warning
None of the Shells are missable, but when going for Gragu, pick up the nearby Tarstone before taking the Heart of Vatra so you do not lock yourself out of that Tarstone. Eight Shells later, you have officially collected enough bodies to make introductions complicated.
Video Guide: https://www.youtube.com/watch?v=0AaPehfHJgc&list=PLJ0d3cxEG9IA
Trophy: So Fresh, So Clean
Cleanse All Beacons
Type: Bronze
Category: Collectible
Unlock Details
Cleanse all Beacons. There are 49 Beacon locations in Mortal Shell II, but only 46 actually need to be cleansed. The other 3 are already cleansed when you first discover them: Marrow Keep Widow’s Overlook Outskirts of Mammon To cleanse a Beacon, enter it and work through the short dungeon inside. These usually contain groups of enemies and, in some cases, a miniboss. Reach the end and claim the Ova to complete the Beacon. Once all 46 cleansable Beacons have been finished, the trophy will unlock.
Tip
Cleanse Beacons as you find them because they also act as fast-travel points, and doing so simultaneously works toward Bring My Ova Back to Me.
Warning
The trophy tracker only shows 46 Beacons because the 3 already-cleansed locations do not count toward it; none of the Beacons are missable and any remaining ones can be cleaned up after the final boss before entering New Game+. Forty-six mini dungeons later, the world is finally clean. Your armor probably is not. I’ll stick to one Tip and one Warning max from here on.
Video Guide: https://www.youtube.com/watch?v=MysBkZxxMqg&list=PLJ0d3cxEG9IA&index=5
Trophy: Speared
Unlock the Ballistazooka
Type: Bronze
Category: Collectible
Unlock Details
Unlock the Ballistazooka. Start at the Gate of Mammon Beacon. Head northwest and climb the first set of stairs to reach the first level of the building. Follow the structure clockwise until you reach the indoor section. Look for the stairs leading down into the Sentry’s Grave dungeon. Enter the dungeon and follow the main path all the way to the end. There you will face the miniboss Subjugated Guardian. Defeat the Guardian and you will automatically receive the Ballistazooka.
Warning
This Sidearm is not missable and can still be earned after completing the story. The name Ballistazooka suggests someone looked at two already unreasonable weapons and decided they needed to become friends.
Video Guide: https://www.youtube.com/watch?v=lVvER4Z2H1w&list=PLJ0d3cxEG9IA&index=21
Trophy: Spiked
Unlock the Caged Hystrix
Type: Bronze
Category: Collectible
Unlock Details
Unlock the Caged Hystrix. Travel southeast from The Silent Steps Beacon to the large stone platform where you encounter Sariel, the Endless. Defeat Sariel the first time and he will retreat through the southern walls, opening the entrance to the Chamber of Becoming dungeon. Follow him through the dungeon and defeat him again. During the final fight, destroy all 4 tombstones in the room to stop Sariel from reviving, then finish him for good. After the fight, head up the stairs toward the back of the area. The Caged Hystrix can be picked up near the dungeon exit.
Tip
You are already in this dungeon for the Clockwork Scythe, so grab both weapons during the same visit and save yourself a return trip.
Warning
This Sidearm is not missable. You can still collect it after the final boss before entering New Game+. You survived an immortal-looking nightmare boss. Your reward is something called the Caged Hystrix. Seems fair.
Video Guide: https://www.youtube.com/watch?v=SYDF5Ez2r2o&list=PLJ0d3cxEG9IA&index=11
Trophy: Stoned
Find all Tarstones
Type: Silver
Category: Collectible
Unlock Details
Find at least 73 of the 75 Tarstones in Mortal Shell II. Tarstones are equipment items that grant passive buffs, modify weapons, or add new attacks to specific weapons and Sidearms. Some Tarstones are tied to certain weapon types, so not every Tarstone can be equipped on every weapon. You can upgrade Tarstones twice to improve their effects, but upgrading them is not required for this trophy. You only need 73 of the 75 total Tarstones. That means you can miss up to 2 and still unlock the trophy.
Tip
Since you do not need all 75, save the most annoying or uncertain Tarstones for last and only chase them if you still need them. Seventy-three magical rocks later, the game finally agrees that yes, you are sufficiently Stoned.
Warning
The Berserker’s Stone is currently the only missable Tarstone. Fortunately, because there are 75 Tarstones but the trophy only requires 73, missing it will not lock you out of Stoned. All other Tarstones can still be collected after defeating the final boss, as long as you remain in free roam and do not enter New Game+.
Video Guide: https://www.youtube.com/watch?v=SsPbbjLk8Es&list=PLJ0d3cxEG9IA&index=3
Trophy: Stop - Hammer Time
Unlock the Obsidian Hammer
Type: Bronze
Category: Collectible
Unlock Details
Unlock the Obsidian Hammer. Start from the Outskirts of Mammon Beacon. Follow the paths southwest until you reach the wooden bridges leading toward the Deserted Slums. In the center of the Deserted Slums, drop down into the lower area where enemies are mining rocks. The entrance to the Obsidianite Mines dungeon is on the southwest side of the pit. Progress through the dungeon until you reach the miniboss Prophet of Profane Infinities. Defeat the miniboss and you will automatically receive the Obsidian Hammer.
Warning
This weapon is not missable and can still be collected after the final boss. At some point, subtlety becomes overrated. That point is when you find the Obsidian Hammer.
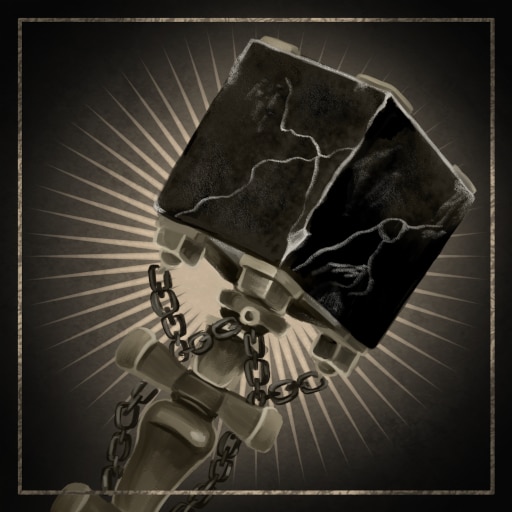
Trophy: The Alchemist
Unlock Sariel
Type: Bronze
Category: Collectible
Unlock Details
Unlock Sariel. Travel southeast from The Silent Steps Beacon to the large stone platform where you encounter Sariel, the Endless. Defeat him once. Sariel will retreat through the walls to the south, opening the entrance to the Chamber of Becoming dungeon. Follow him inside and continue through the dungeon until you fight him again. During the final encounter, destroy all 4 tombstones in the room to stop him from reviving. Once all 4 are broken, defeat Sariel permanently. After the fight, interact with his body to unlock him as a Shell.
Tip
You can also obtain the Clockwork Scythe and Caged Hystrix during this same dungeon, so grab everything while you are here.
Warning
Sariel is not missable. Sariel called himself the Endless. You found four tombstones that strongly disagreed.
Video Guide: https://www.youtube.com/watch?v=MJcCqDOjYKU&list=PLJ0d3cxEG9IA&index=8

Trophy: Vengeance is Mine
Unlock Eredrim
Type: Bronze
Category: Collectible
Unlock Details
Unlock Eredrim. Start at the Citadel of Penance Beacon. Head toward the center of the area and drop down to the lowest level. You will find two elevators. Ride either elevator toward the upper middle section. During the ride, the miniboss The Warden will drop you back into the lower area and start a fight. Most of The Warden’s attacks are unblockable, so dodging is much safer than trying to stand your ground. Once The Warden is defeated, interact with the body on the ground to unlock Eredrim.
Tip
Tiel works especially well here if you have invested in Shadow-related abilities. Dodge through attacks, disappear, then punish the boss from behind.
Warning
Eredrim is not missable. The elevator ride looked suspicious. The boss dropping onto you confirmed it.
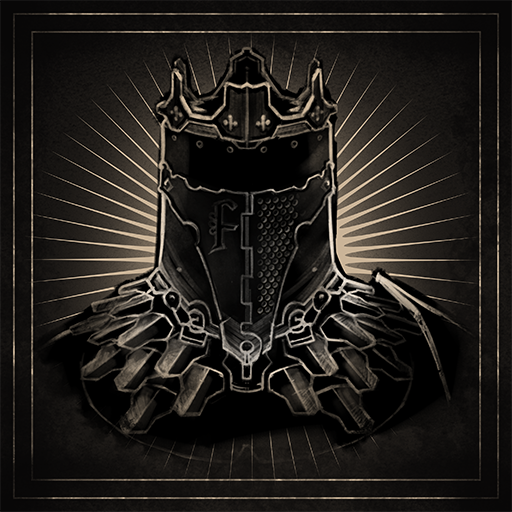
Trophy: Decked Out
Reach the maximum bonding tier for a Shell at the Shellkeeper
Type: Silver
Category: Grind
Unlock Details
Reach Bond Tier 4 with any Shell at the Shellkeeper. Each Shell has its own Bond level, and you increase it by spending Glimpses in the Shellkeeper’s Bond menu. To reach the maximum Bond Tier of 4, you need to spend a total of 27 Glimpses on a single Shell. Once that Shell reaches Tier 4, the trophy will unlock.
Tip
Focus on one Shell you actually enjoy using instead of spreading Glimpses across everyone early. Twenty-seven Glimpses later, you and your Shell are officially bonded. Whether that relationship is healthy is a completely different trophy.

Trophy: Over 9000
Max out a Weapon at the Tarforge
Type: Silver
Category: Grind
Unlock Details
Upgrade any weapon to +16 at the Tarforge. Weapons and Sidearms are upgraded using Coin and upgrade materials found throughout the game. You only need to fully upgrade one weapon for this trophy, so pick your favorite and commit to it. The total cost to reach +16 is: 57,000 Coin 32 Ventrium 31 Laterite 31 Dorsalite Once the weapon reaches +16, the trophy will unlock.
Tip
All weapons and Sidearms use the same upgrade costs, so there is no advantage to choosing one over another purely for this trophy. You can obtain a Tarforge Upgrade Item that lets you remove upgrade materials from weapons later, so experimenting with upgrades is not a complete waste. The main thing you lose is Coin, which can always be earned again from enemies.
Warning
Weapons can eventually be upgraded beyond +16 after obtaining a late-game Tarforge item, but that is not required for this trophy. +16 is enough. Anything beyond that is just your weapon developing a superiority complex.
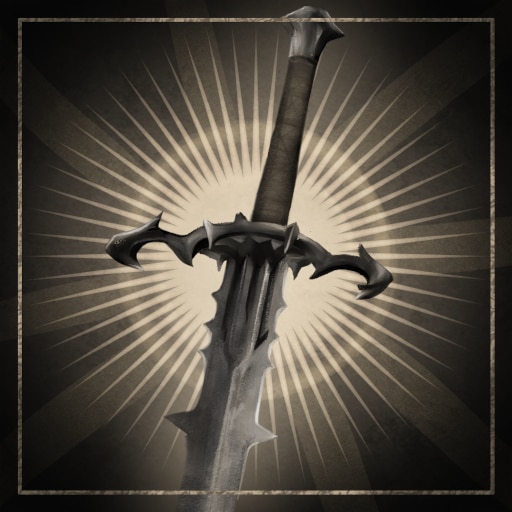
Trophy: Seeking the Past
Watch all Shell Memories
Type: Silver
Category: Grind
Unlock Details
Watch all 40 Shell Memories. There are 8 Shells in the game, and each one has 5 Memories, for a total of 40. Memories are unlocked by increasing a Shell’s Bond Level at the Shellkeeper using Glimpses. All 5 Memories for a Shell become available once that Shell reaches Bond Tier 4. Maxing a single Shell requires 27 Glimpses. To fully max all 8 Shells normally would require 216 Glimpses. With post-launch updates, you can still complete this in a single playthrough by combining extra Glimpse farming with Bond resets. Merrick in Marrow Keep sells Mether’s Severance for 5,000 Coin. He sells 3 total per playthrough. Using one lets you reset a Shell’s Bond Level and regain the Glimpses you spent on it. Before resetting a Shell, make sure you have already viewed all 5 of its Memories. If you switch back to a Shell after resetting it, those Memories will disappear from the Shellkeeper menu, so keep track of which Shells you have already completed. You can also farm extra Glimpses using the Glimpse Stone Fragile Tarstone. Equip one and defeat 20 enemies. The Tarstone will break and reward you with 3 Glimpses. Merrick sells 13 Glimpse Stones per playthrough for 2,500 Coin each. After that, you can farm more in The Unfound Path by killing the Stonecrab enemies around the central pillar, as they can drop additional Glimpse Stones.
Tip
The cleanest route is to max a Shell, watch all 5 Memories, then use Mether’s Severance on that Shell and reuse the recovered Glimpses on another one.
Warning
Keep your own checklist of completed Shells before resetting Bonds, because resetting and switching back to that Shell can remove its Memories from the Shellkeeper menu. Forty memories, eight Shells, and enough Glimpses to make you question whether the real final boss was bookkeeping.
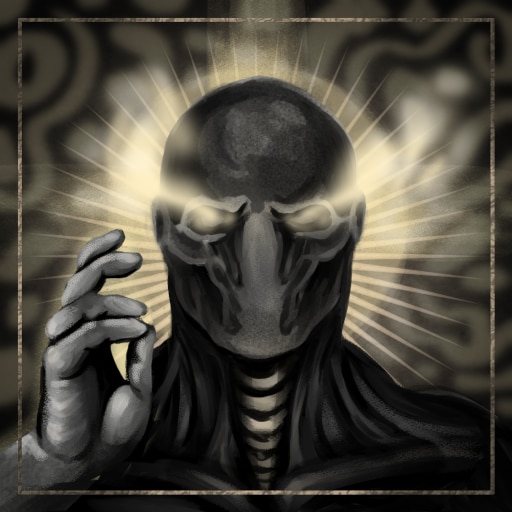
Trophy: Headcase
Defeat The Nameless Captive
Type: Bronze
Category: Combat
Unlock Details
Defeat The Nameless Captive. The Nameless Captive is the main boss at the end of the Prisoner’s Domain. This fight is built heavily around parrying. In the first phase, the boss mainly uses a 4-hit swinging combo and repeated head-smash attacks. Most of these are clearly telegraphed, so use parries to build stun and create openings for Ripostes. When the second phase begins, the boss becomes more aggressive and gains longer multi-hit attacks. If you are also going for Peter’s Perfect Parry, this is the same fight where you need to parry the full 7-hit head-spin combo.
Tip
Take your time and learn the rhythm of the attacks instead of trying to brute-force the fight.
Warning
If you still need Peter’s Perfect Parry, make sure you attempt it before killing the boss. A boss designed around parrying. Wonderful. Nothing builds confidence like knowing one mistimed button press may remove half your health bar.
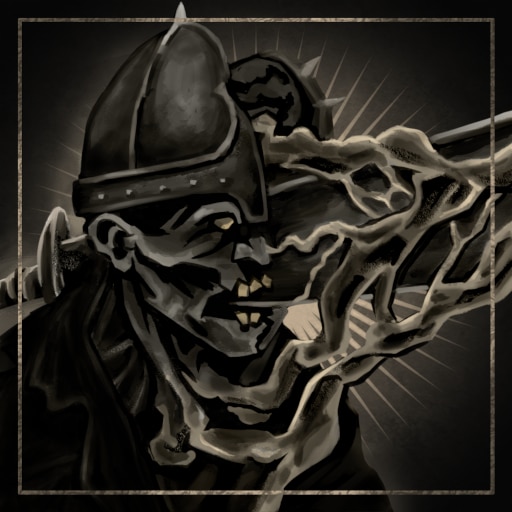
Trophy: It burnssssssssss
Defeat Droeg, the Conquerer
Type: Bronze
Category: Combat
Unlock Details
Defeat Droeg, the Conquerer. Droeg is the main boss at the end of the Conquered Temple. It is a large, slow boss that mainly attacks with heavy stomps and a massive bone club. Its attacks deal Frost damage, so equip Martyr’s Ash in your passive slot if you have it. If you are playing as Eredrim, improving Frost resistance also helps. Most of Droeg’s attacks are slow enough to parry, Harden through, or dodge around. One of the safest openings comes from its three overhead attacks. If you get behind Droeg during this combo, it struggles to turn quickly enough to follow you, giving you time to attack. After half health, Droeg gains an unblockable projectile attack. You can recognize it when the boss holds its head and tracking projectiles begin forming above it. The easiest way to avoid this is to hide behind the large stone slab on the left side of the arena or the tree on the right. Just make sure Droeg is not standing too close to your cover, because the projectiles have some splash damage.
Tip
Stay patient and use Droeg’s slow turning speed against it. Big club. Big boss. Big opportunity to stand behind it and make extremely disrespectful decisions.
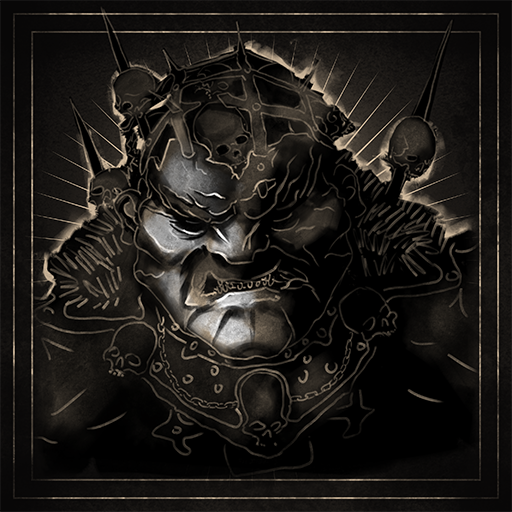
Trophy: It's over now?
Defeat Zmey, the Unbidden
Type: Bronze
Category: Combat
Unlock Details
Defeat Zmey, the Unbidden. Zmey is the final boss of Mortal Shell II and is fought at the center of The Unfound Path after defeating the other three bosses in the area. This is a long endurance fight against a giant dragon wielding a sword, so go in prepared for something much closer to a marathon than a quick duel. Before the fight, it is highly recommended to obtain the Seedbearer’s Scripture and equip it in your Passive slot. This gives 80% resistance to Cosmic Disease, which becomes extremely important during the second phase. Cosmic Disease lasts much longer than most other status effects and can quickly drain your health if you are not prepared. During the first phase, stay close to Zmey whenever possible. Standing between its legs lets you avoid several of its sword attacks while continuing to deal damage. Watch carefully for: The unblockable ground slam — dodge backward. Three consecutive stomps — Harden the first if you are confident, then move out of the Stasis area. The tail grab — dodge forward or to the right. This is one of the most dangerous attacks in the fight and can kill lighter Shells extremely quickly. The Cosmic fire breath — sprint forward and slightly sideways to escape the affected area. When the second phase begins, immediately move away. Zmey opens with 4 large Cosmic wave attacks. For the first set, you usually have enough time to run away completely. Later in the fight, you will need to dodge through the waves instead. Most of the boss’s original attacks remain in the second phase, but they now deal Cosmic damage instead of Stasis damage.
Tip
Treat this as an endurance fight. Do not rush for extra hits when you already have a safe opening to retreat and reset. Once Zmey finally falls, the trophy will unlock. The title asks, “It’s over now?” After this fight, you are absolutely allowed to ask the same thing while staring at the screen in silence.
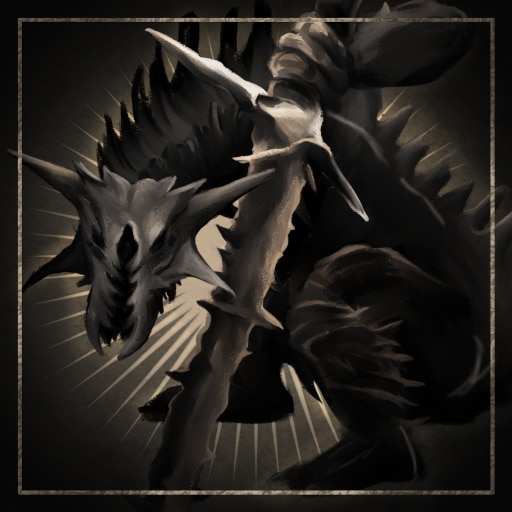
Trophy: Lost Your Head
Defeat Orrem, the Reclaimed
Type: Bronze
Category: Combat
Unlock Details
Defeat Orrem, the Reclaimed. Orrem is one of the later main bosses in The Unfound Path and is encountered after the Bridge of Procession Beacon. The first phase uses almost the same moveset as the Tar Golem from the tutorial, but the attacks now deal Bloodcurse damage instead of Burn. Equip Bloodseed in your passive slot if you want extra protection. At this stage of the game, the first phase should feel relatively familiar and manageable. Once the first health bar is depleted, Orrem transforms completely. It drops to all fours and grows a centipede-like creature from its back. In this phase, stay close and dodge from side to side. Most attacks are arm slams aimed toward whichever side you are standing on. Dodge under the attacking arm, punish the leg, then be ready to repeat the pattern as the boss turns. If you stay too far away, Orrem can perform a very fast rush with little warning. It can also fire a stream of projectiles from the centipede head, which can be avoided by continuously dodging sideways.
Tip
Stay close during phase two. The ranged attacks are generally more annoying than the melee pattern once you learn the dodge rhythm. Phase one: familiar nightmare. Phase two: surprise centipede nightmare. Mortal Shell II believes strongly in escalation.
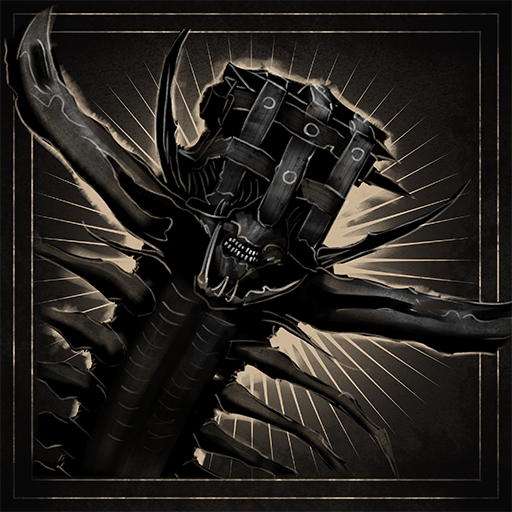
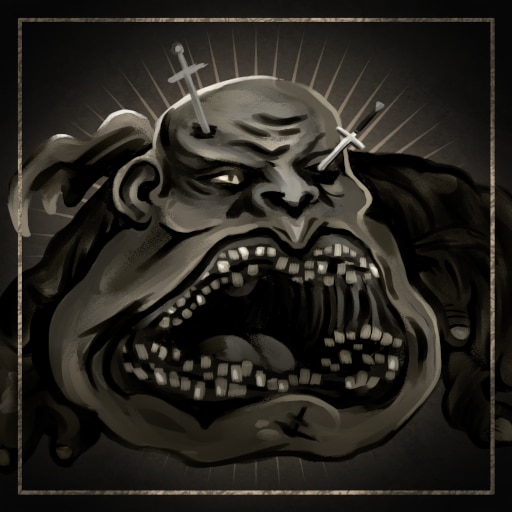
Trophy: Meat's Back on the Menu, Boys!
Defeat The Lost Child
Type: Bronze
Category: Combat
Unlock Details
Defeat The Lost Child. The Lost Child is the main boss at the end of the Sanguine Caverns. It is a huge creature made up mostly of a mouth and two arms, so expectations should already be appropriately low. Most of its attacks are bites, arm swipes, and body slams. Watch for the unblockable bite attacks and the jump into the air, as both need to be dodged. Its normal arm swipes have long windups, giving you time to dodge or use Harden. If it performs a normal bite combo, expect three fast bites in a row. When it jumps away, it may start spraying goop from behind itself. Keep moving and dodge sideways until the attack ends. Below half health, it becomes faster and more aggressive, but it does not gain any major new mechanics.
Tip
Harden is very useful here because several attacks have obvious windups and can be punished afterward. You came looking for a boss. You found a giant mouth with arms. Soulslikes remain committed to making anatomy optional.
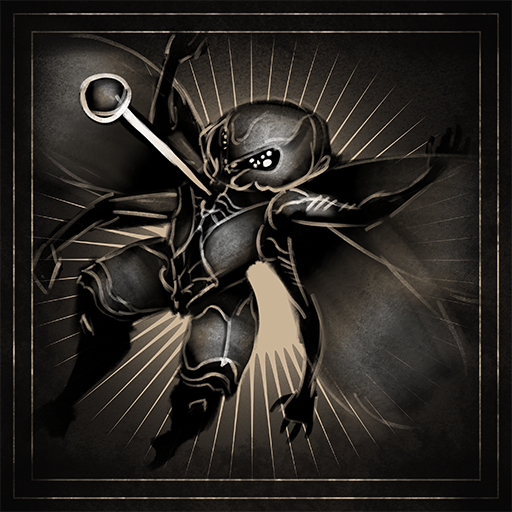
Trophy: Nightmare Fuel
Defeat Sir Isaac, the Scholar-Prince
Type: Bronze
Category: Combat
Unlock Details
Defeat Sir Isaac, the Scholar-Prince. Sir Isaac is the main boss at the end of the Faded Citadel. The first phase is fairly manageable. He mostly uses basic sword combos that can be parried consistently, making it possible to stun him repeatedly. Do not stand directly in front of him for too long, because his shield bash is extremely fast and difficult to react to. The second phase is much more dangerous. He drops the shield, becomes significantly faster, and starts using longer sword combos with rapid double hits. These can be awkward to parry consistently, so Harden is often safer than relying entirely on normal parries.
Tip
Tiel is strong here if you have upgraded Shadow Clone, since Isaac can get distracted by the clones during his combos. Sester Genessa is another excellent choice if her Faithful Doubles are upgraded, as they can keep Isaac occupied and deal strong damage. The title Scholar-Prince makes him sound refined. The second phase makes it very clear he majored in stabbing.
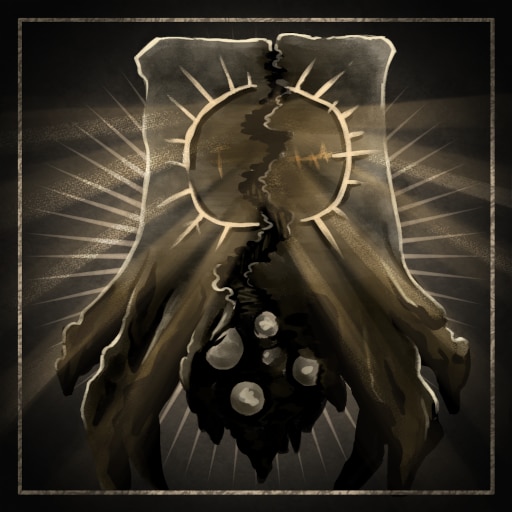
Trophy: Praise him!
Defeat The Monolith
Type: Bronze
Category: Combat
Unlock Details
Defeat The Monolith. The Monolith is one of the main bosses in The Unfound Path and is encountered after the Obsidian Vault. Its weak point is the dangling section in the center between the two halves of its body. This fight is more about patience than aggression, because The Monolith deals enormous damage and can punish missed dodges or parries very quickly. In the first phase, it mainly uses central slams and large body drops. The central ball slams can be parried, giving you safe opportunities to deal damage. In the second phase, it gains longer slam sequences and laser attacks. For the single tracking laser, dodge sideways. For the sweeping laser fan, dodge through it and try to get behind the boss for a few hits. In the final phase, it becomes even more chaotic. It can spin around the arena, leap into the air, and fire large rotating laser patterns. For the spinning laser attack, move far away and dodge in the same direction the boss is rotating.
Tip
Tiel is a strong choice here because Shadow Dodge and the clone effects can distract the boss during some of its slam attacks. This boss is basically a wall that decided standing still was beneath it.
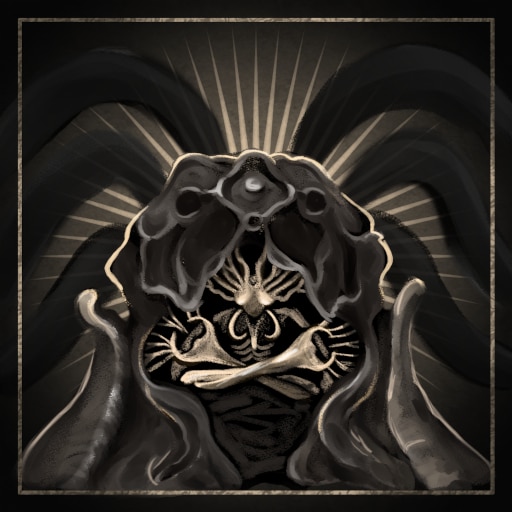
Trophy: Something in the deep...
Defeat Hexapod
Type: Bronze
Category: Combat
Unlock Details
Defeat Hexapod. Hexapod is the main boss at the end of the Withered Shoals area. Most of its attacks come from the appendages around the front of its body, so it is very dangerous if you stay directly in front of it for too long. Harden is extremely useful in this fight because several of Hexapod’s attacks are awkward to read and do not always have generous telegraphs. If you are unsure what is coming, holding Harden can save you from taking a heavy hit. If you are using the Triach Repeater and have upgraded it, this fight becomes much safer because you can stay at range and shoot Hexapod in the face when its appendages move away. If you are fighting in melee, focus on attacking the front after blocking or parrying an attack, then back away before the appendages come back down. During the second phase, Hexapod gains homing projectiles that appear above it. You can dodge sideways to avoid them or use the large skeletons in the arena as cover.
Tip
If you are struggling with the timing of its attacks, lean on Harden instead of trying to parry everything. The good news is it only has one face. The bad news is that face brought eight problems with it.
Trophy: Ultimate Gainz
Defeat Malborn Offspring
Type: Bronze
Category: Combat
Unlock Details
Defeat Malborn Offspring near the end of the game. Malborn Offspring is one of the late-game bosses, and this trophy unlocks automatically once the fight is completed. The boss has two full health bars and relies heavily on fast sword combos and extremely dangerous grab attacks. If you are struggling, Sester Genessa is a strong option. Her Faithful Doubles can distract the boss, build Stasis, and create openings for you to recover Resolve and deal damage safely. Once Malborn Offspring is defeated, the trophy will unlock automatically.
Tip
Go into the second phase with as much Resolve as possible, since Malborn becomes even more aggressive after reviving. All those Gains finally paid off. Unfortunately, they belonged to the boss.
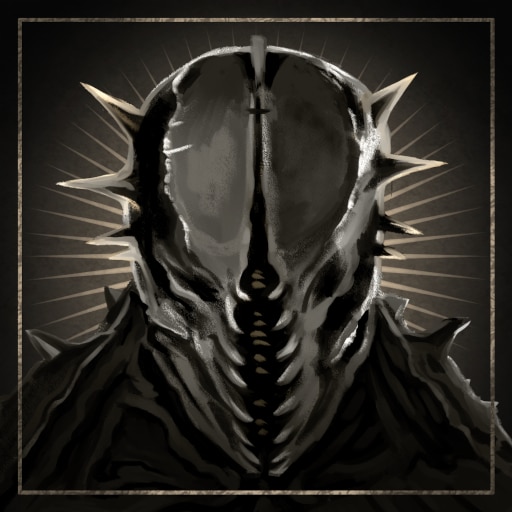
Trophy: Wheelie Good Time
Defeat Magdalena, the Lady of the Woods
Type: Bronze
Category: Combat
Unlock Details
Defeat Magdalena, the Lady of the Woods. Magdalena is fought in the foggy forest area and rides a large mechanical, steam-powered vehicle. The safest approach is to stay patient and avoid getting greedy with your attacks. Watch for her flame trails and explosive projectiles, dodge through or around them, then move in for one or two hits before backing away. Ranged attacks can also help chip away at her health while keeping you out of danger. Once you build enough stun or posture damage, use the opening to deal heavier damage before resetting your position. Defeat Magdalena and the trophy will unlock.
Tip
Play the fight patiently and punish her after attacks instead of staying directly in front of the vehicle for too long. She brought a giant mechanical death machine to the fight. You brought patience. Somehow, patience wins.
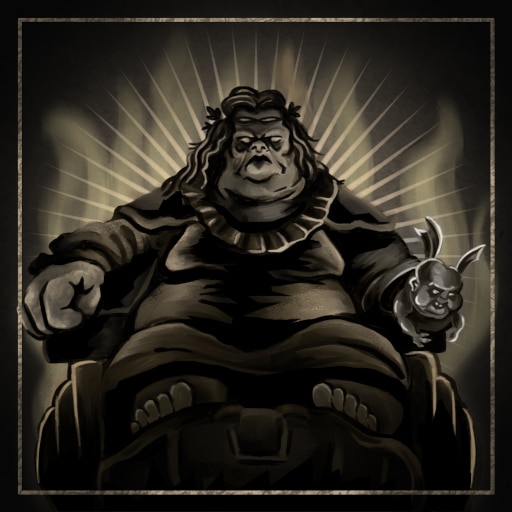
Trophy: Ascension
Discover the secret of the Mango
Type: Bronze
Category: Misc
Unlock Details
Discover the secret of the Mango. First, you need to find the Mether’s Flesh item in the Sanguine Caverns. Start from the Pulsing Caves Beacon and drop down the hole to continue through the area. At the very bottom, do not leave the cave. Instead, turn around and look for an area blocked by exploding bodies. Move past them and find the nearby chest. To the right of the chest is a pillar with the Mether’s Flesh item sitting on it. Pick it up. Next, travel to the Outskirts of Nochte Beacon. In the cave where the river runs through, look for a large fish sitting in the water. There is a cup in front of it. Interact with the cup and use the Mether’s Flesh. You will be transported to a hidden dungeon called Mango Sanctuary. Inside, interact with the giant mango. This gives you a consumable Mango and unlocks the trophy.
Tip
Do not leave the bottom of Pulsing Caves immediately after dropping down. Turn around first and grab Mether’s Flesh, or you will have to come back later. You fought monsters, explored ruined lands, and survived cosmic horrors. Your reward? Mango.
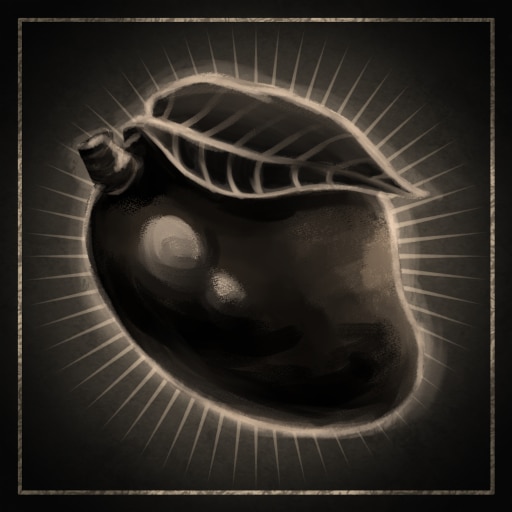
Trophy: Feed Me
Cause Egon to pass away
Type: Bronze
Category: Misc
Unlock Details
Give Egon enough Gloom that he eventually passes away. Egon can be found southwest of the Castigator’s Keep Beacon, inside the tower in the center of the castle area. Speak with him and give him Gloom. You can donate any amount each time, and your contributions are cumulative. Once you have given Egon a total of 10,000 Gloom, he will die. When that happens, you will receive 20,000 Gloom back and the trophy will unlock.
Tip
You do not need to give all 10,000 at once. Just keep feeding him Gloom until your total donations reach the requirement. Since you get back double what you invested at the end, this is not as painful financially as it first sounds. You gave a man 10,000 Gloom. He gave you 20,000 back and died. Somehow, this is still a better investment strategy than most of Los Santos.
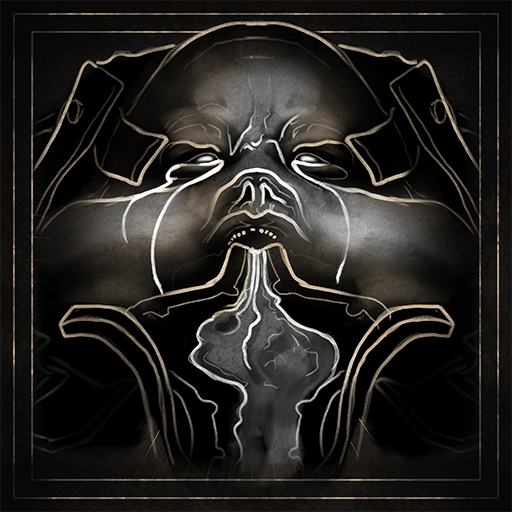
Trophy: Heavy Metal
Play all Lute Tracks in the Game
Type: Silver
Category: Misc
Unlock Details
Play all 5 Lute Tracks. First, obtain the Troubadour’s Lute sidearm. You can find it southeast of the One Legged Wolf Beacon inside the One Legged Wolf Tavern. Enter the tavern and pick up the Lute from the stage to the left of the man already playing one. Once you have it, equip the Lute as your Sidearm. Hold L2 to aim it like a normal Sidearm. Press Square to start playing. While the music is playing, press Down on the D-pad to cycle through the available tracks. Keep cycling until you have played all 5 songs. The trophy will unlock once every track has been played.
Tip
You do not need to finish an entire song before switching. Just cycle through all 5 tracks while the Lute is actively playing.
Warning
Make sure you actually obtain and equip the Troubadour’s Lute first. The Lute is both a weapon and a musical instrument, because apparently subtlety died a long time ago. Five songs later, you are no longer just a warrior. You are a touring act with unresolved trauma.
Trophy: Home at Last
Reach Marrowkeep
Type: Bronze
Category: Story
Unlock Details
Reach Marrow Keep for the first time. This happens automatically after completing the tutorial section. Continue through the opening until you arrive at Marrow Keep and the trophy will unlock. There is nothing missable here. “Home” might be doing a lot of work in that title, but at least you made it.
Trophy: This is Not an Achievement
Complete Mortal Shell II
Type: Gold
Category: Story
Unlock Details
Complete Mortal Shell II and trigger the ending. After defeating the final boss, return to Marrow Keep. You can continue exploring your current playthrough for as long as you want before ending the game. When you are ready, interact with the Ova Siphon. Choose the Send Ova option. This will trigger the ending and move you into New Game+. The trophy will unlock as the ending begins.
Tip
Finish any remaining collectible, Shell Memory, or cleanup trophies before choosing Send Ova if you want to avoid moving into New Game+ too early.
Warning
Choosing Send Ova ends your current playthrough and moves you into New Game+. The game gives you all the time in the world to clean up. Then one button press says, “Alright, we’re doing this again.”
Trophy: You're More Than a Weapon
Claim your first Shell, Weapon and Sidearm
Type: Bronze
Category: Story
Unlock Details
Claim your first Shell, Weapon, and Sidearm during the tutorial. All three are obtained as part of the opening sequence, so this trophy is completely automatic and cannot be missed. Once you have claimed your first Shell, picked up your first Weapon, and received your Sidearm, the trophy will unlock. You came here looking for purpose. The game handed you a body, a weapon, and a sidearm. Close enough.
Start by working through the opening section carefully, because two missable trophies can only be earned here: Mid Summer and No, You Still Can’t Win. These are especially important because New Game+ starts you back in Marrow Keep and skips the tutorial section entirely, so if you miss either one, you will need a fresh playthrough.
Once you reach Marrow Keep, focus on getting comfortable with the returning Mortal Shell systems, experimenting with the expanded roster of Shells and weapons, and opening up the world. As you progress, keep collecting Shells, Weapons, and Tarstones whenever you find them instead of leaving everything for the end.
Your main goal is to defeat the six major bosses accessed through the Corrupt Gates while continuing to collect everything tied to trophies. You can tackle these bosses in different orders, although the intended progression is generally the northern part of the map first, followed by the southern areas.
Once you gain fast travel and the ability to clear corruption by siphoning 7 Ova in Marrow Keep, the game opens up considerably and you can move through the remaining regions in whatever order works best for you. Keep an eye on the missable Peter’s Perfect Parry trophy during the boss fight in the Prisoner’s Domain, and make sure you handle the NPC interaction tied to Bag Holder correctly when you encounter it.
After defeating at least 5 of the 6 main bosses, the path to the final area becomes available through the stairway in the Ova room in Marrow Keep. You can technically head toward the final boss before fully clearing every overworld region, but it is better to finish your remaining Shell, Weapon, Tarstone, and side-content cleanup first if you are already nearby.
There is no trophy requirement forcing you into New Game+, and with the current post-launch structure, nearly the entire list can be completed in a single playthrough. If you missed Peter’s Perfect Parry or Bag Holder, both can still be attempted again in New Game+, but the two tutorial trophies cannot.
After defeating the final boss, you are returned to Marrow Keep and can continue exploring your current save. This makes post-game cleanup much friendlier than it first appears, so do not feel pressured to finish absolutely everything before the final fight.
The main cleanup task will likely be unlocking any remaining Shell Memories for Seeking the Past. Since that trophy is the one requirement that may still be outstanding after the story, use the post-game state to revisit your Shells and finish whatever memories are still missing.
The cleanest route is simple: protect the four missables, collect Shells, Weapons, and Tarstones as you explore, defeat the major bosses, then use the post-game for any memory cleanup. Mortal Shell II may be bigger than the first game, but thankfully the Platinum is much less interested in making you suffer just for tradition’s sake.
Completion Video Playlist
1 video
MORTAL SHELL 2 - 100% Platinum Walkthrough 1/25 - Full Game Trophy / Achievement Guide