


Trophy Guide Preview
Overall Trophy Progress
0 / 57 Completed
0%
Trophy Types
Platinum
0 / 1Gold
0 / 1Silver
0 / 9Bronze
0 / 46Categories
Missable
0 / 22Collectible
0 / 10Ending
0 / 5Misc
0 / 6Story
0 / 13

Step into 1960s Japan as Shimizu Hinako, a teenager trapped in the fog-covered town of Ebisugaoka. Explore a beautiful but deeply disturbing world, solve puzzles, fight grotesque creatures, uncover hidden truths, and face choices that shape Hinako’s fate.
Overall Trophy Progress
0 / 57 Completed
0%
Platinum Path
EARLY GAME Start your first playthrough on Story Action and Story Puzzle difficulty. Lost in the Fog Action is not available yet, and puzzle difficulty trophies do not stack, so this gives you the cleanest starting point. Use this run to collect everything available on a fresh playthrough and knock out as many miscellaneous trophies as possible. Most collectibles can be recovered later in New Game+, but a few are esp...
Completion Video Playlist
1 video
SILENT HILL F - Platinum Walkthrough 1/24 - 100% ALL Collectibles & Endings
Trophy: I Still Have Wings
Obtained all trophies.
Type: Platinum
Unlock Details
Obtained all trophies.

Trophy: A Federal Offense
Opened the Igarashi residence's mailbox.
Type: Bronze
Category: Missable
Unlock Details
Open the Igarashi residence mailbox during the second visit to Ebisugaoka. First, find the Key to Sakuko’s Mailbox in front of Sennensugi Shrine, located far north from the fields. Once you have the key, backtrack all the way toward the beginning of the area near the General Store. From there, head northwest and follow the alley leading to Sakuko’s house. Use the key on the mailbox to unlock the trophy.
Tip
Grab the key as soon as you reach the shrine area so you do not forget about the long backtrack later.
Video Guide: https://www.youtube.com/watch?v=7eI7PjNQBUI
Trophy: A Gift I Cannot Accept
Offered the Brooch to the ancient Jizo Statue.
Type: Bronze
Category: Missable
Unlock Details
Offer the Brooch to the Ancient Jizo Statue during New Game+2. This is part of the requirements for Ending 4. During the fifth visit to Ebisugaoka, continue until you pass through the park and complete the forced enemy encounter. Afterward, you will be able to climb a set of stairs. Before continuing up the main route, look to the right for a newly available path. Follow it to the Ancient Jizo Statue, then hold Cross while standing in front of it to offer the Brooch. The trophy will unlock once the offering is made.
Tip
This only appears during the New Game+2 route, so make sure you grab it while working toward Ebisugaoka in Silence.
Warning
Do not walk past this side path and continue too far without making the offering, since the Brooch is required for Ending 4.
Video Guide: https://www.youtube.com/watch?v=TqZhi9_MSRc
Trophy: Acupuncture Specialist
Arrived at the Nishida residence without making a single mistake on the scarecrow puzzle.
Type: Bronze
Category: Missable
Unlock Details
Reach the Nishida residence during the second visit to Ebisugaoka without making a single mistake in the scarecrow puzzle. The puzzle is split across five areas, and you must choose the correct scarecrow in every section. If you select the wrong one at any point, quit out and continue from the checkpoint. The game checkpoints at the beginning of each area, so you do not need to restart the entire puzzle.
Tip
Take your time and treat each section separately. One wrong poke is all it takes to turn “Acupuncture Specialist” into “Very Concerned Amateur.”
Video Guide: https://www.youtube.com/watch?v=_YatpaO9r7g
Trophy: Agile Escape
Escaped from the Fog Monster at Sugisato without getting hit.
Type: Bronze
Category: Missable
Unlock Details
Escape from the Fog Monster at Sugisato without taking any damage. After visiting the Mountain Hut and obtaining the gate key, you will drop down a ledge and trigger another Fog Monster chase. This sequence is more dangerous than the earlier chase because regular enemies can appear along your route. Keep sprinting, dodge anything directly in your path, and avoid the red tendrils covering parts of the ground. If you picked up the Horse Omamori earlier in the area, equip it before starting the chase. Its extra sprint endurance makes this section much more forgiving. Once you reach the gate, you will get a short break before a second chase begins. Near the end of this second section, two Screamer enemies will block the way. Do not try to force your way past them while they are screaming. Wait for the scream to end, then continue moving. The trophy unlocks after completing the second chase and reaching the Hokora Shrine without taking a hit.
Tip
Save your stamina for the stretches where enemies are actually threatening you. The Horse Omamori helps a lot here and is worth equipping before you drop down.
Warning
Any damage during either chase section will void the attempt. If you get hit, quit to the main menu and continue, or simply restart after dying. You will be placed back before the relevant section so you can try again.
Video Guide: https://www.youtube.com/watch?v=5wi_9MlJXh4
Trophy: Be Free of Your Hatred
Purified the Sacred Sword.
Type: Bronze
Category: Missable
Unlock Details
Purify the Sacred Sword during New Game+. This is required for Ending 2 and Ending 4. First, reach Main Hall and open the Inari-sama door upstairs near the second ritual area. Follow the path outside to the temple. Near the water, inspect the stone containing the Crimson Water puzzle. You need to ring three specific bells in the correct order. Only ring a bell after the central water fountain tips and makes its loud clacking sound. The correct order is: Bell 1 – Volcano symbol, near the temple entrance. Bell 2 – Water symbol, on the small island beside the puzzle stone. Bell 3 – Tree symbol, on the stone bridge along the right-hand path. Completing the sequence turns the water crimson. Later, during the fifth visit to Ebisugaoka, reach the Inari-sama Shrine. The water bath there will now contain crimson water. Place the Sacred Sword into the bath to purify it and unlock the trophy.
Tip
If you are aiming for Ending 3 as well, make a manual save before purifying the sword. Ending 3 requires the Sacred Sword to remain unpurified, so one good save here can save you a lot of replaying.
Warning
Do not purify the Sacred Sword if you are currently setting up Ending 3.
Video Guide: https://www.youtube.com/watch?v=lx2vDTcHhGc
Trophy: Echoes of Jealousy
Defeated Rinko without being hit by her puppets.
Type: Bronze
Category: Missable
Unlock Details
Defeat Rinko at the end of the Main Hall without taking any damage from her puppets. During the fight, Rinko will occasionally summon puppets that slowly move toward you. If one of them gets caught in her fire attack, it will ignite, rush at you, and explode. The safest strategy is to destroy the puppets as soon as they appear while they are still moving slowly. They usually go down in just a couple of hits. After defeating one, you can also use Soul Siphon on it to help recharge your ability. If you notice Rinko preparing a fire attack, move away from any puppets still on the field. If one catches fire, stop attacking, let your stamina recover, and be ready to dodge when it charges.
Tip
Deal with the puppets immediately instead of letting several build up at once. The fewer tiny explosive problems running around the arena, the better.
Warning
You can take damage from Rinko herself and still earn the trophy. The requirement only applies to damage caused by her puppets.
Video Guide: https://www.youtube.com/watch?v=W2wM7c7FkpM
Trophy: Fox Tamer
Defeated all the summoned monsters before putting an end to the Shichibi.
Type: Silver
Category: Missable
Unlock Details
Defeat the Shichibi during Ending 3 after killing every monster it summons. This boss appears during the Ending 3 route in New Game+. Three times during the fight, the Shichibi will become weakened and begin summoning additional enemies. Whenever this happens, stop attacking the boss and focus entirely on the summoned monsters. Clear every enemy from each of the three summon phases before dealing more damage to the Shichibi. Once all summoned enemies have been defeated, finish the boss to unlock the trophy.
Tip
Take these phases slowly and make sure the arena is completely clear before returning your attention to the boss. This is one of those fights where being too efficient can actually cost you the trophy.
Warning
Do not finish the Shichibi while any summoned enemies are still alive.
Video Guide: https://www.youtube.com/watch?v=aU25LK5An_w
Trophy: Go Away! You'll Ruin the Shop's Reputation!
Defeated the Giant Monster in front of Chizuruya General Store.
Type: Bronze
Category: Missable
Unlock Details
Defeat the Giant Monster in front of Chizuruya General Store during the third visit to Ebisugaoka. When you arrive at the store with Shu and Rinko, the Giant Monster will be accompanied by several smaller enemies. You can normally avoid this encounter and continue toward the objective, but you need to stay and fight for the trophy. Lure the smaller enemies away first and deal with them one at a time. Once the area is less crowded, focus entirely on the Giant Monster. You have already fought this enemy type before, so use the same approach as the earlier encounter and take your time.
Tip
Clearing out the smaller enemies first makes the fight much safer. Fighting a giant monster is bad enough without its little fan club joining in.
Video Guide: https://www.youtube.com/watch?v=wHuSEdDhccU
Trophy: God Slayer
Defeated both the Tsukumogami and the Kyubi within 10 minutes of the fight starting.
Type: Silver
Category: Missable
Unlock Details
Defeat both Tsukumogami and Kyubi within 10 minutes during Ending 4 in New Game+2. This is a double boss fight in the Dark Shrine. You will alternate between the two bosses, completing one phase at a time until all three phases for each boss are finished. Kyubi is fought using the Fox Arm, while Tsukumogami is fought with your normal weapons, including the Sacred Sword. The good news is that the fight checkpoints after every two phases, meaning after one phase from each boss. If you die and continue, the time spent before dying does not get added to your attempt. That gives you some room to learn each phase first, then push for a faster clear once you are comfortable. Bring several Sanity-restoring items such as Ramune, Divine Water, or Inari Sushi. These help fill your Bestial Form charge quickly, which can make the Kyubi portions much faster. A strong Omamori setup is: Rabbit – Gives you a powerful counter after a Perfect Dodge. Boar – Greatly improves Stamina recovery. Serpent – Automatically counters when the opportunity appears. Suzuran – Makes Perfect Dodges easier. Beetle – Greatly increases damage against stunned enemies. Together, these give you better stamina, easier dodges, stronger counters, and more damage during stun windows.
Tip
Do not panic over the timer immediately. Use the checkpoints to learn each phase first, then clean up your execution. Ten minutes is much more manageable when you already know what each boss is about to throw at you.
Warning
If you are also going for a Hard or Lost in the Fog completion trophy, do not lower the difficulty. You can reduce it to Story after repeated deaths if you only care about God Slayer, but doing so will void the higher-difficulty completion trophy for that run.
Video Guide: https://www.youtube.com/watch?v=X-BWF6IeIkY
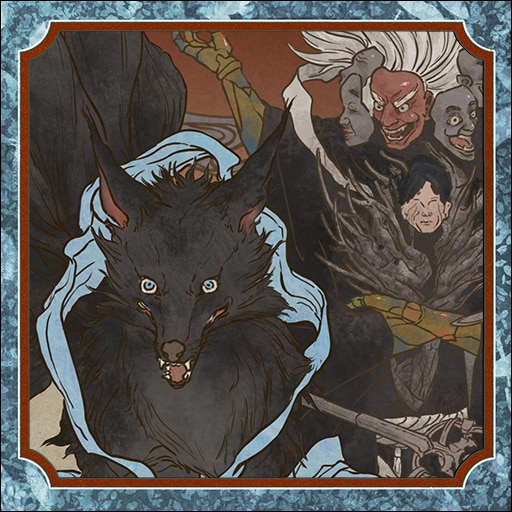
Trophy: Just Shut Up for Once, Dad!
Defeated Hinako's father before her mother at the Shimizu residence.
Type: Bronze
Category: Missable
Unlock Details
Defeat Hinako’s father before her mother during the boss fight at the end of Shimizu Residence. Hinako’s father is the larger enemy wielding the blade. For this trophy, ignore Hinako’s mother as much as possible and focus all of your damage on the larger boss first. Once Hinako’s father is defeated, you can finish the remaining boss normally.
Tip
Try to keep your positioning clean so the smaller boss does not constantly interrupt you while you focus on the larger target.
Warning
Defeating Hinako’s mother first will void the trophy for that attempt.
Video Guide: https://www.youtube.com/watch?v=R6oA4Xed3G4
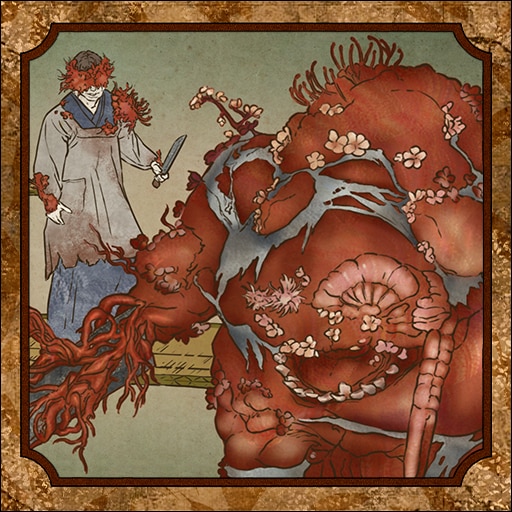
Trophy: Like the Fleeing Hare
Escaped from the Fog Monster at Ebisugawa without getting hit.
Type: Bronze
Category: Missable
Unlock Details
Escape from the Fog Monster during the first visit to Ebisugaoka without taking any damage. After visiting Chizuruya General Store, you will be forced into a chase sequence. Hold L3 to sprint and keep moving along the path in front of you. Press Cross whenever you need to climb over or squeeze through an obstacle. The main thing to watch for is the red tendrils spreading across the floor and walls. Touching them will damage Hinako and void the attempt. The trophy unlocks once you reach the cutscene at the end of the chase without taking a hit.
Tip
Do not overthink the route. Keep sprinting, react quickly to obstacles, and give the red tendrils plenty of space.
Warning
If you take damage, either reload your last checkpoint or let the chase fail and retry. You need a completely clean run from start to finish.
Video Guide: https://www.youtube.com/watch?v=uQqlg1GR45A
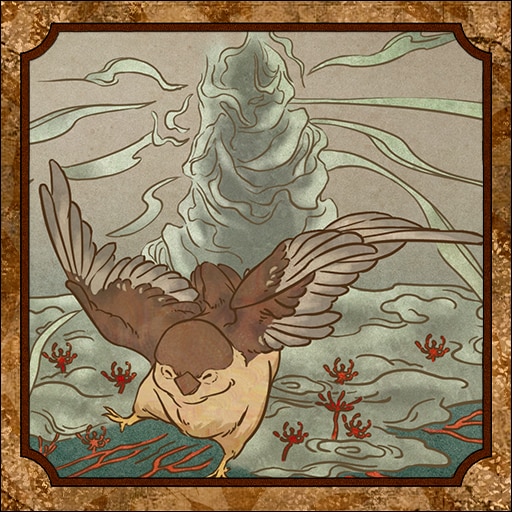
Trophy: No One Left Behind
Stopped a certain number of enemies behind the white rabbit crest door from reanimating.
Type: Bronze
Category: Missable
Unlock Details
Prevent at least eight enemies from reanimating in the eastern section of the Worship Hall. This area introduces blue lanterns. Any enemy killed while standing within the lantern’s light will be prevented from coming back to life. Enemies inside the lantern’s range will glow blue, making it easy to tell when they are positioned correctly. You need to kill eight enemies while they are affected by blue lantern light. On Story difficulty, you can use the following enemies: The enemy inside the starting room with the Hokora Shrine. The enemy in the locker room near the red/green lever. The enemy hiding in the nook inside the second red/green lever room. The enemy behind the adjoining red door. Open the door with the lever, then change the lever again and lure it into the locker room with the blue lantern. The enemy in the green-door corridor past the white door. Lure it back into the room containing the blue/white lever. The enemy near the red door at the back of the corridors. Bring it into the room with the red/green lever. The enemy that appears after entering the rabbit hutch. The blind enemy that walks through the red door after you use the red/green lever near the rabbit hutch. The enemy in the second Hokora Shrine room after activating the blue/white lever. You only need eight, so there is one extra opportunity on Story difficulty
Tip
Do not rush the kills. Lure enemies fully into the lantern’s light and make sure they are glowing blue before finishing them off.
Warning
Enemies killed outside the blue light can reanimate and will not count toward the trophy. Higher difficulties contain additional enemies, but the requirement remains eight.
Video Guide: https://www.youtube.com/watch?v=JfPgjQW_XQU
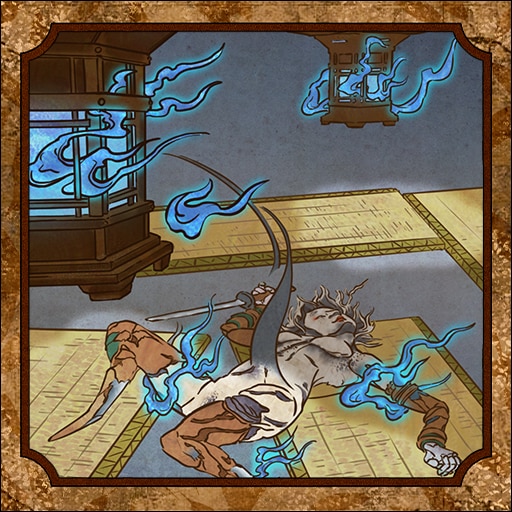
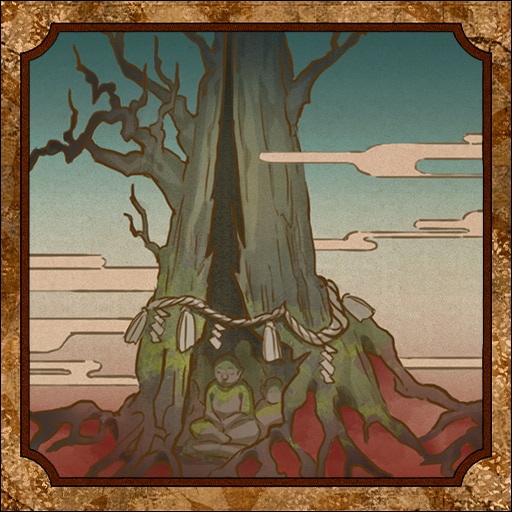
Trophy: O Divine Tree
Discovered the Thousand Year Cedar.
Type: Bronze
Category: Missable
Unlock Details
Discover the Thousand Year Cedar during the fourth or fifth visit to Ebisugaoka. After completing the second Fog Monster chase, you will reach an area with stairs leading toward a shrine. Continue farther up the additional set of stairs to reach the Thousand Year Cedar and unlock the trophy.
Tip
You will need to visit this location in New Game+ while working toward the Sacred Sword and later endings, so this trophy can also come naturally during your Platinum route.
Video Guide: https://www.youtube.com/watch?v=ZDp3zw-h9zo
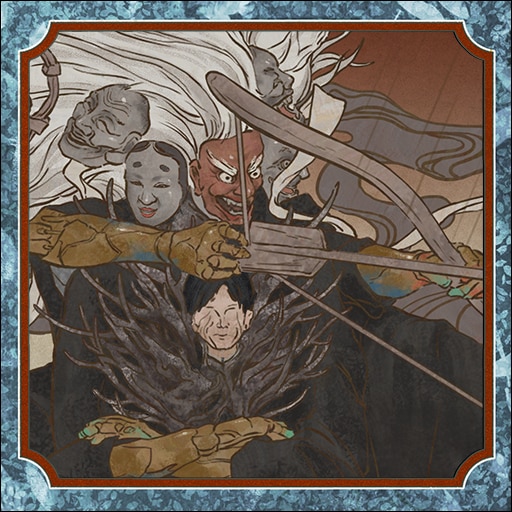
Trophy: Puppetmaster
Defeated the Tsukumogami without getting hit by a single arrow.
Type: Silver
Category: Missable
Unlock Details
Defeat the Tsukumogami during Ending 2 without being struck by any of its golden arrows. This boss appears during the Ending 2 route in New Game+. Later in the battle, the Tsukumogami will teleport to the far side of the arena and begin attacking with a bow. You must survive this entire arrow phase without being hit by an arrow. There are three main arrow attacks to watch for: The boss fires three arrows into the air that track toward you. Dodge each one as it approaches and be ready for three separate evasions. It can fire a rapid volley directly toward you. These arrows travel quickly, so chain several dodges together rather than trying to stand your ground. It can also fire arrows upward, creating a rain of projectiles across the arena. Keep moving and dodge repeatedly until the barrage ends. Your goal during this phase is to continue advancing toward the boss. Once you reach the Tsukumogami, the arrow sequence ends. The boss also uses wave-style attacks during this section. Getting hit by those does not void the trophy; only the arrows matter.
Tip
Suzuran and Boar make an excellent combination here. Suzuran makes Perfect Dodges easier, which can restore your stamina, while Boar greatly improves stamina recovery. Another option is Shrew Mole if you are comfortable entering the phase at low health, as it allows you to dodge without consuming stamina under its required condition. Keep moving forward rather than dodging endlessly from the back of the arena. The sooner you reach the boss, the sooner the arrow nightmare is over.
Warning
If an arrow hits you, the trophy is lost for that attempt. You can lower the Action difficulty to Story after repeated deaths if you only care about Puppetmaster, but doing so will prevent you from earning the Hard or Lost in the Fog completion trophy on that playthrough.
Video Guide: https://www.youtube.com/watch?v=b54cSpYzQfQ
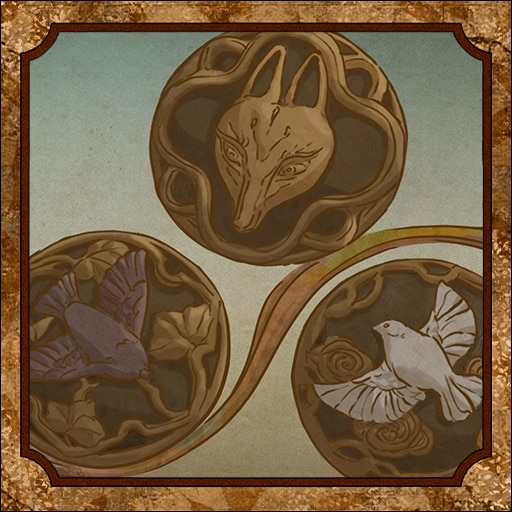
Trophy: Sly Like the Fox
Obtained all the crests without making a single mistake on the Inari statue puzzle.
Type: Bronze
Category: Missable
Unlock Details
Obtain all three crests in Treasure Hall without choosing a single incorrect door during the Inari statue puzzle. Several rooms give you multiple doors to choose from, but only one is correct. To identify the correct door, find the Fox Statue with an arrowhead lodged in it. Remove the arrowhead and the statue will turn toward the correct path. Some Fox Statues are hidden and must be revealed by holding L2 near blood puddles. The correct doors stay the same between playthroughs and do not change with difficulty, so once you know the route you can simply take the correct doors without interacting with every statue again.
Tip
You will pass through this area multiple times while working toward the different endings, so this often becomes easier naturally as you memorize the route.
Warning
Entering even one wrong door will ruin the attempt for that playthrough.
Video Guide: https://www.youtube.com/watch?v=LvcHbHQodGI
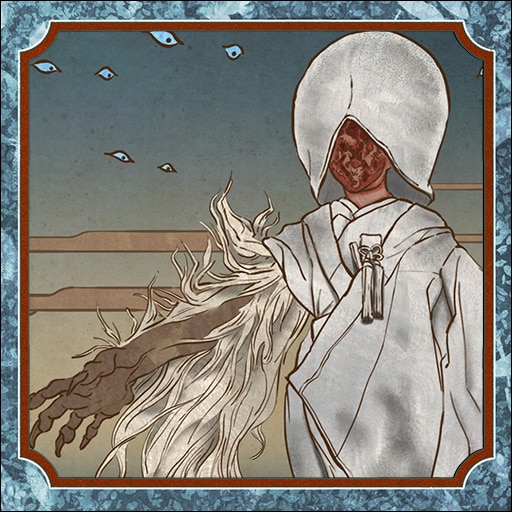
Trophy: The Bird that Flies Highest
Defeated the Shiromuku without dying once.
Type: Silver
Category: Missable
Unlock Details
Defeat the Shiromuku during Ending 1 without dying. This boss only appears during Ending 1, so this trophy needs to be handled on your first playthrough unless you trigger that ending again later. The fight is fairly long, so go in with a healthy supply of First Aid Kits and Bandages. If you have the Blessed Hand Mirror Omamori, equip it. It can fully restore your Health, Stamina, and Sanity after a fatal blow, which gives you a valuable safety net during the fight. Most of the battle is straightforward: attack whenever you have a safe opening and avoid getting too greedy. The main danger comes when Shiromuku covers the ground in red flowers. These slowly drain your health for roughly 10 seconds before ending in a powerful explosion. Keep an eye on your health during this phase and heal before the explosion if necessary.
Tip
Story difficulty makes this much more manageable because healing items are plentiful. There is no shame in showing up to a horror boss fight with enough medical supplies to open a small clinic.
Warning
If you die, do not choose Continue from the death screen. Quit to the main menu and reload instead, or the trophy attempt will be lost.
Video Guide: https://www.youtube.com/watch?v=YcAEhvi_Jxw
Trophy: The Malevolent Blade Never Rusts
Obtained the Sacred Sword after uncovering its legend.
Type: Bronze
Category: Missable
Unlock Details
Obtain the Sacred Sword in New Game+ after completing its full Jizo Statue questline. This quest spans the first five visits to Ebisugaoka. During each visit, you must find one Key Item and offer it to the matching Jizo Statue. After all five offerings have been made, return to the Thousand Year Cedar to claim the Sacred Sword. Ebisugaoka First Visit Key Item: After the first Hokora Shrine, enter the house that is only accessible in New Game+. Head upstairs, cross the balcony, and collect the treasure key. Use it to open the small chest in the room beside the kitchen. Jizo Statue: Head slightly downhill and check the yard of the house on the left. Ebisugaoka Second Visit Key Item: Found near the stones by Sennensugi Shrine. Jizo Statue: From Sennensugi Shrine, head south, take the first path east, and go behind the yard area. Ebisugaoka Third Visit Key Item: Near the entrance to Ebisugaoka Middle School, take the left-hand path to the dead end and pick it up from the ground. Jizo Statue: Near the final Hokora Shrine, climb both sets of stairs and check behind the house. Ebisugaoka Fourth Visit Key Item: On the ground beside Shu’s Workshop, behind his house. Jizo Statue: Slightly off the southern path near the final Hokora Shrine. Ebisugaoka Fifth Visit Key Item: Stuck in a tree behind a house near the stairs leading to an Inari-sama Shrine. Jizo Statue: Just west of the Key Item, up the small stairs behind a house. Once all five offerings are complete, visit the Thousand Year Cedar and collect the Sacred Sword to unlock the trophy.
Tip
This weapon is tied directly to the later endings, so it fits naturally into your Ending 2, Ending 3, and Ending 4 routes.
Warning
This quest is only available in New Game+. Missing one Key Item or Jizo Statue means you will not be able to claim the Sacred Sword on that run.
Video Guide: https://www.youtube.com/watch?v=9phc-8QQqQU
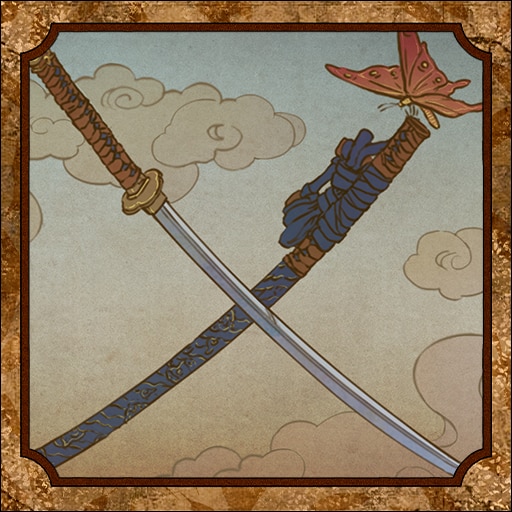
Trophy: The Sound of Silence
Defeated Sakuko without getting hit by the suzu bell attack.
Type: Bronze
Category: Missable
Unlock Details
Defeat Sakuko at the end of the Corridors without being hit by the suzu bell attack. Twice during the fight, Sakuko will stun you, teleport away, and begin charging an attack with the suzu bell. As soon as this happens, sprint toward Sakuko and land a stab before the bell attack finishes charging. Each of these phases contains three bell charges, meaning you must interrupt the attack six times in total during the fight. You do not need to avoid every attack in the boss fight. Only the suzu bell attack matters for this trophy.
Tip
The moment Sakuko teleports away, stop worrying about damage and close the distance immediately. Getting there quickly is much safer than trying to squeeze in extra attacks elsewhere.
Warning
If even one suzu bell attack connects, the trophy is lost for that attempt.
Video Guide: https://www.youtube.com/watch?v=TpV8UnD_fxs
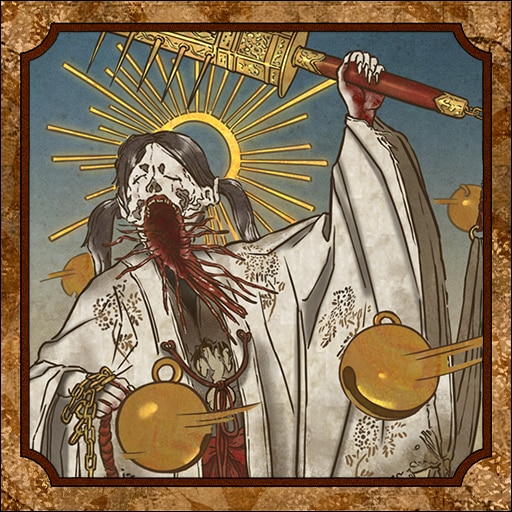
Trophy: Treasured Belonging
Obtained the small vial containing the Agura no Hotei-sama.
Type: Bronze
Category: Missable
Unlock Details
Obtain the small vial containing the Agura no Hotei-sama during New Game+. When you reach Main Hall, head upstairs near the second ritual area. In New Game+, an Inari-sama door here can be opened. Go through the door and follow the path into the outdoor area. Climb the stairs toward the temple and check the altar. The Agura no Hotei-sama is sitting there. Pick it up to unlock the trophy.
Tip
You need this item for Ending 2: Fox’s Wedding, so make sure you grab it while preparing that ending route.
Video Guide: https://www.youtube.com/watch?v=rRySMcy280U
Trophy: Untouchable
Opened the Shrine Vault at the Shrine Path without getting hit.
Type: Bronze
Category: Missable
Unlock Details
Open the Shrine Vault without taking any damage during the Shrine Path section. When you return to the shrines to find the code for the vault, a new enemy type appears. You will need to survive the encounter, solve the code puzzle, and open the Shrine Vault without being hit. This enemy mainly uses two attacks: A single overhead strike that can be parried with R2. A long nine-hit combo, with the ninth attack ending in another overhead strike. For the combo, back away and count the swings. After the eighth attack, move back in and prepare to parry the final overhead. The red flash is your cue that the attack can be parried. You do not necessarily need to keep fighting it. After the first encounter, the creature can be avoided because it is blind and mainly reacts to noise.
Tip
You can return to the Hokora after collecting each ema and make a manual save. That makes this trophy much less stressful if something goes wrong. You can also make this much easier in New Game+. If you already know the Shrine Vault code, enter it immediately and skip most of the danger entirely.
Warning
Any damage before the Shrine Vault is successfully opened will void the attempt.
Video Guide: https://www.youtube.com/watch?v=LhNgswBcbOQ
Trophy: Where Are You Going?
Caught up with the Fog Monster 3 times.
Type: Bronze
Category: Missable
Unlock Details
Catch up with the Fog Monster three times during the sixth visit to Ebisugaoka. This sequence begins as soon as the area starts. You do not need to sprint nonstop. The Fog Monster only appears once you reach certain points along the route. Each time it comes into view, ignore the nearby enemies and run straight toward it. If you get close enough, the Fog Monster will teleport farther ahead and block the path, forcing you to deal with the enemies before continuing. Repeat this successfully three times to unlock the trophy.
Tip
The important part is reacting quickly once the Fog Monster actually appears. Save your stamina while moving through the quieter stretches, then sprint as soon as you see it.
Warning
If the Fog Monster disappears too far into the fog before you reach it, that encounter will not count.
Video Guide: https://www.youtube.com/watch?v=lu1zVe-z8Mo
Trophy: Winners Don't Do Drugs
Reached the Iwai residence without taking a single capsule and left the capsules on Shu's desk in his workshop.
Type: Silver
Category: Missable
Unlock Details
Reach the Iwai residence without using a single Red Capsule, then leave the capsules in Shu’s workshop untouched. You are allowed to pick up Red Capsules during the playthrough, but you must never use one. To remove the risk of accidentally consuming one, open your inventory and discard any Red Capsules you collect. Once you reach Shu’s house during the fourth visit to Ebisugaoka, enter his workshop. Do not pick up any of the Red Capsules inside the workshop. Instead, interact with the letter on the desk. The trophy will unlock during the following cutscene.
Tip
Make a habit of discarding Red Capsules immediately whenever you find them. It is much safer than trusting yourself not to press the wrong button 10 hours later.
Warning
Using even one Red Capsule at any point before reaching this section will void the trophy for that playthrough. Avoiding Red Capsules is also required for Endings 2, 3, and 4, so this trophy fits naturally into your later ending runs.
Video Guide: https://www.youtube.com/watch?v=wxS6wDK2o-I
Trophy: A Miko Possessed
Obtained all the following documents: "Sakuko's Diary"
Type: Bronze
Category: Collectible
Unlock Details
Collect all eight Sakuko’s Diary pages across New Game, New Game+, and New Game+2. Every page is found in Worship Hall, but the full set is spread across three playthroughs: New Game – 3 pages New Game+ – 3 pages New Game+2 – 2 pages You need all eight pages for the trophy.
Tip
Make these a priority every time you reach Worship Hall. They are easy to forget because the set is split across multiple runs.
Warning
Later playthroughs replace some earlier document locations with new pages. Missing one can force an extra playthrough just to finish the set.
Video Guide: https://www.youtube.com/watch?v=yGm6__OEgkA
Trophy: Close to the Sun
Fully upgraded Health, Sanity, and Stamina.
Type: Bronze
Category: Collectible
Unlock Details
Fully upgrade Health, Sanity, and Stamina. Stat upgrades require two resources: Faith and Ema. Faith is earned by offering items at Hokora Shrines, while Ema are found throughout the game. There are 22 Ema available across New Game, New Game+, and New Game+2. You only need 18 of them to fully upgrade all three stats. You will also need a total of 22,500 Faith to purchase every required upgrade.
Tip
Do not waste Ema early if you are following the Platinum roadmap. Keep collecting them across each playthrough and make sure you have enough Faith ready when the later upgrades become available. You can also save one Ema going into New Game+2 so you can unlock the extra Omamori slot early, then finish the remaining stat upgrades later in that run.
Warning
Because some Ema are spread across New Game+ and New Game+2, this trophy cannot be finished during your first playthrough.
Video Guide: https://www.youtube.com/watch?v=zk56LrhhqrI
Trophy: Fate of the Apostate
Obtained all the following documents: "Diary of Revenge"
Type: Bronze
Category: Collectible
Unlock Details
Collect all six Diary of Revenge documents in New Game+. All six are found inside Inari-sama Boxes, so you will need the Brooch to open them. Because these documents are tied directly to the sealed boxes, this trophy pairs naturally with Inari-sama’s Secrets.
Tip
Open every Inari-sama Box you come across instead of trying to remember which ones contain the diaries.
Warning
This trophy is only available in New Game+, so none of the Diary of Revenge documents can be collected on your first run.
Video Guide: https://www.youtube.com/watch?v=l0APIdb4QRc
Trophy: Fervent Collector
Obtained all the items that increase inventory size.
Type: Bronze
Category: Collectible
Unlock Details
Obtain all six items that increase your inventory size. These upgrades are spread across New Game and New Game+, with each one permanently increasing your inventory capacity by one slot. You need to collect all six inventory-expansion items to unlock the trophy.
Tip
Keep these on your collectible checklist as you progress through both playthroughs. Extra inventory space is useful on its own, especially once the game starts throwing more healing items, offerings, and other resources at you.
Warning
Some of the required upgrades are only available in New Game+, so this cannot be completed during your first run.
Video Guide: https://www.youtube.com/watch?v=4xC_qX77gNk
Trophy: Fires of Jealousy
Obtained all the following documents: "Rinko's Diary"
Type: Bronze
Category: Collectible
Unlock Details
Collect all five Rinko’s Diary pages. These only appear on New Game+2, and all five are found in Worship Hall. Once you have collected the complete set, the trophy will unlock.
Tip
Since all five are in the same area, it is worth checking them off one by one before leaving Worship Hall.
Warning
These pages do not appear on earlier playthroughs, so this trophy cannot be completed before New Game+2.
Video Guide: https://www.youtube.com/watch?v=3UNxMrxP8Og
Trophy: Good Intentions...
Obtained all the following documents: "Clinical Trial"
Type: Bronze
Category: Collectible
Unlock Details
Collect all three Clinical Trial documents across New Game, New Game+, and New Game+2. All three are found during the fifth visit to Ebisugaoka, with one new page appearing on each playthrough: New Game – 1 page New Game+ – 1 page New Game+2 – 1 page Collect all three to unlock the trophy.
Tip
Add “Clinical Trial” to your must-check list every single time you reach the fifth Ebisugaoka visit.
Warning
Because there is only one page available per playthrough, missing one means you will need another run to complete the set.
Video Guide: https://www.youtube.com/watch?v=kB05KbCZr4o
Trophy: Inari-sama's Secrets
Opened all rooms and boxes marked with Inari-sama's seal.
Type: Bronze
Category: Collectible
Unlock Details
Open every door and box marked with Inari-sama’s seal in New Game+. These can only be opened once you have access to the Brooch. There are 11 sealed locations in total: 4 Inari-sama Doors 7 Inari-sama Boxes Open all of them across your New Game+ run to unlock the trophy.
Tip
Treat these as part of your New Game+ collectible route. Several of them contain other useful items, so opening them helps with more than just this trophy.
Warning
These seals are tied to New Game+, so you cannot complete this trophy during your first playthrough.
Video Guide: https://www.youtube.com/watch?v=XH9OtrfV9VQ
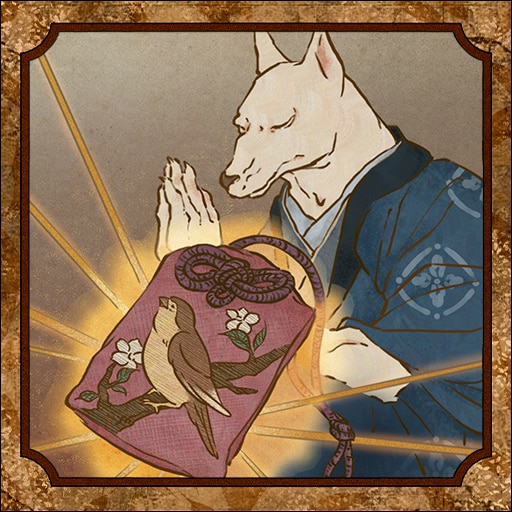
Trophy: Omamori Collector
Obtained all the omamori available from hokora.
Type: Bronze
Category: Collectible
Unlock Details
Obtain all 23 Omamori that can be drawn from Hokora Shrines. At a Hokora Shrine, first enshrine offerings to build Faith, then spend that Faith to draw Omamori. The cost starts at 300 Faith and increases by 100 after each draw until it reaches 1,000 Faith. You need all 23 Hokora Omamori, which costs 20,200 Faith in total. Despite the draw being described as random, reloading a save made immediately before drawing appears to give the same Omamori again. Because of that, save-scumming is not a reliable way to reroll the result instantly. A useful Platinum strategy is to save up enough Faith to buy every remaining Omamori at once, unlock the trophy, then reload your save and spend that same Faith on character upgrades instead. Faith values from offerings: Arare – 10 Faith Ramune – 20 Faith Yokan – 30 Faith Divine Water – 50 Faith Higashi – 80 Faith Chocolate – 80 Faith Kudzu Tea – 100 Faith Inari Sushi – 150 Faith Dried Carcass – 200 Faith Antique Comb – 300 Faith Shriveled Abura-age – 500 Faith
Tip
Save the higher-value offerings for when you actually need a large Faith boost. Hoarding enough Faith for the all-at-once trophy method can save a lot of grinding.
Warning
Faith is also needed for stat upgrades, so spending everything carelessly on Omamori can slow down Close to the Sun.
Video Guide: https://www.youtube.com/watch?v=sK-z55x4oLQ
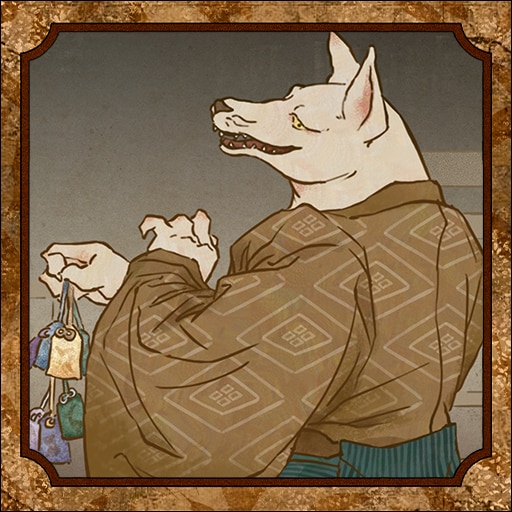
Trophy: Omamori Sage
Obtained all the hidden omamori.
Type: Bronze
Category: Collectible
Unlock Details
Find all 17 Hidden Omamori across New Game and New Game+. These are different from the Omamori drawn at Hokora Shrines. Hidden Omamori are found directly in the world and provide various passive bonuses when equipped. Some only appear in New Game+, so this trophy requires more than one playthrough. There are 17 Hidden Omamori in total. Any Hidden Omamori you already collected will be replaced by offerings on later playthroughs, making it easier to tell which ones you have already picked up.
Tip
Keep these on your collectible checklist from the beginning. Several are found in one-time areas, and once you leave an area you cannot return to it.
Warning
Do not confuse Hidden Omamori with Hokora Omamori. They are two separate collectible sets with separate trophies.
Video Guide: https://www.youtube.com/watch?v=Ez4mHAQx7j8
Unlock Details
Find all 17 Hidden Omamori across New Game and New Game+.
These are different from the Omamori drawn at Hokora Shrines. Hidden Omamori are found directly in the world and provide various passive bonuses when equipped.
Some only appear in New Game+, so this trophy requires more than one playthrough.
There are 17 Hidden Omamori in total. Any Hidden Omamori you already collected will be replaced by offerings on later playthroughs, making it easier to tell which ones you have already picked up.
Tip
Keep these on your collectible checklist from the beginning. Several are found in one-time areas, and once you leave an area you cannot return to it.
Warning
Do not confuse Hidden Omamori with Hokora Omamori. They are two separate collectible sets with separate trophies.
Trophy: The Truth about the Tsuneki Family
Obtained the following documents: "Housemaid's Note" "Family Physician's Log" "Strict Mother's Letter"
Type: Bronze
Category: Collectible
Unlock Details
Collect all documents tied to the Tsuneki Family during New Game. You need 14 documents in total: 4 Housemaid’s Notes 5 Family Physician’s Logs 5 Strict Mother’s Letters Once all 14 have been collected, the trophy will unlock.
Tip
Keep these on your first-playthrough checklist so you do not have to hunt through multiple chapters later.
Warning
Once you leave an area, you cannot return to it, so missing one document can mean waiting for another playthrough.
Video Guide: https://www.youtube.com/watch?v=fO26WcoS94Q
Trophy: Coming Home to Roost
Drown in a bottomless pit of self-doubt.
Type: Bronze
Category: Ending
Unlock Details
Reach Ending 1: Coming Home to Roost. This ending is guaranteed on your first playthrough, so there are no special requirements or hidden conditions to worry about. Simply complete the game for the first time and the trophy will unlock with the ending.
Tip
Use this first run to focus on collectibles and miscellaneous trophies instead of stressing over ending choices. The game handles this one for you.
Video Guide: https://www.youtube.com/watch?v=uhaJhgB3i00
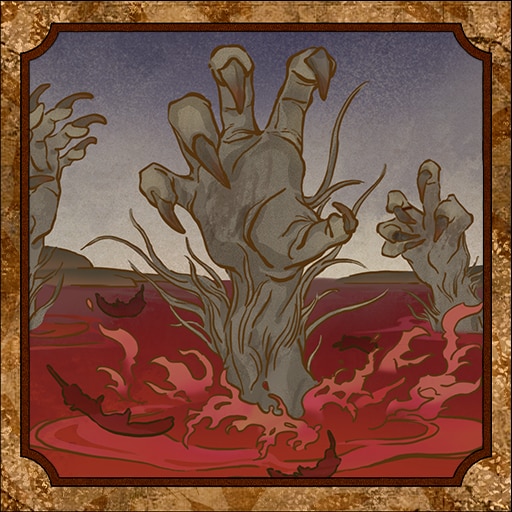
Trophy: Ebisugaoka in Silence
We need to talk about our future.
Type: Gold
Category: Ending
Unlock Details
Reach Ending 4: Ebisugaoka in Silence. This ending is only available in New Game+2 and requires a Clear Save File with at least two full endings already completed. Ending 1, Ending 2, and Ending 3 count as full endings. The Great Space Invasion! does not count. During your New Game+2 run, meet all of these requirements: Do not use any Red Capsules during the entire playthrough. Obtain and purify the Sacred Sword. Find the Ancient Jizo Statue and offer the Brooch to it. Once all requirements are complete, continue through the game and finish the run to trigger Ebisugaoka in Silence.
Tip
This is the best playthrough for Lost in the Fog difficulty because you should have more upgrades, Omamoris, and access to the Sacred Sword much earlier than before.
Warning
Ending 5 does not count toward the two completed endings required to unlock this route. Make sure your Clear Save shows Ending 1 plus either Ending 2 or Ending 3 before starting New Game+2.
Video Guide: https://www.youtube.com/watch?v=zASF32vbIbk
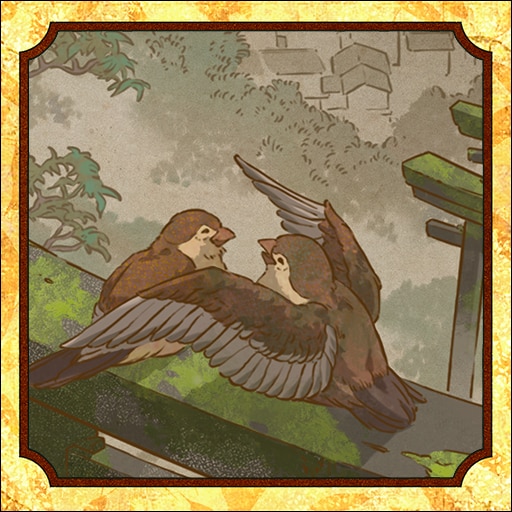
Trophy: Fox's Wedding
Dolls are happiest when they are loved.
Type: Silver
Category: Ending
Unlock Details
Reach Ending 2: Fox’s Wedding. This ending becomes available in New Game+. To qualify for it, complete the playthrough while meeting these conditions: Do not use any Red Capsules during the entire run. Either purify the Sacred Sword or do not pick up the Sacred Sword at all. Collect the Agura no Hotei-Sama. Once these requirements are met, continue to the end of the game and trigger Fox’s Wedding.
Warning
Using even one Red Capsule will lock you out of this ending for that playthrough, so treat them like they are radioactive.
Video Guide: https://www.youtube.com/watch?v=1LkfxgzGPBs
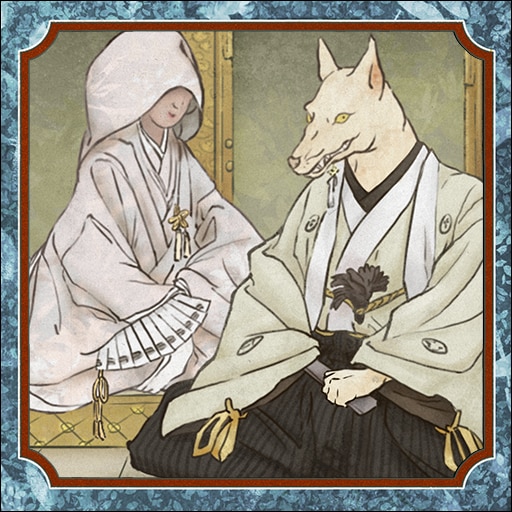
Trophy: The Fox Wets Its Tail
A hell of your own choosing. Nothing else matters, now.
Type: Silver
Category: Ending
Unlock Details
Reach Ending 3: The Fox Wets Its Tail. This ending is only available in New Game+. To qualify for it, complete the run while meeting all of these conditions: Do not use any Red Capsules during the entire playthrough. Acquire the Sacred Sword. Do not purify the Sacred Sword. The Sacred Sword is tied to a game-spanning puzzle that involves collecting key items and placing them at Jizo Statues across the first five visits to Ebisugaoka. Once you have the unpurified Sacred Sword and have avoided Red Capsules, continue through the game and finish the run to trigger The Fox Wets Its Tail.
Tip
This is a good ending to pair with Fox’s Wedding in the same New Game+ playthrough by using manual saves. Save before purifying the Sacred Sword, then use that save to split your run between the two endings.
Warning
The ending becomes locked once you enter the Shimizu Residence area, so make sure all required conditions are set before crossing that point.
Video Guide: https://www.youtube.com/watch?v=ZN_TiP_do5U
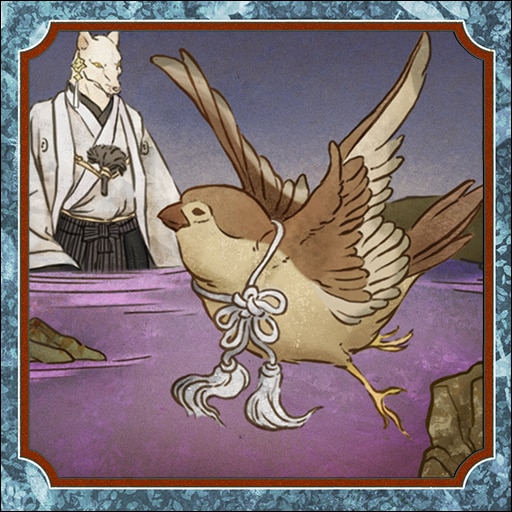
Trophy: The Great Space Invasion!
Rise up! The Space Army is coming!
Type: Bronze
Category: Ending
Unlock Details
Reach Ending 5: The Great Space Invasion! This joke ending becomes available in New Game+. During the playthrough, complete the following steps in order: Listen to the UFO Radio Broadcast. Read all three “The Great Space Invasion” Movie Posters in their required order. Read “The Great Space Invasion” Movie Review. After completing all of these interactions, continue until the ending triggers. Finishing this ending also unlocks access to the PP-8001 weapon. On a save file where the UFO ending has already been completed, interact with the first “The Great Space Invasion” Movie Poster again to obtain it.
Tip
Make a manual save before committing to the final UFO-ending steps. That way you can trigger this ending, reload, and continue working toward the other New Game+ endings without another full playthrough.
Warning
The Great Space Invasion! is not considered a full ending and does not count toward the requirements for Ebisugaoka in Silence. It also does not unlock any difficulty-completion trophies. Apparently alien invasions are impressive, but the trophy list would still like you to finish the actual game.
Video Guide: https://www.youtube.com/watch?v=XtpvJBCLEp4
Trophy: Clear Skies
Complete the game with action difficulty set to "Lost in the Fog".
Type: Silver
Category: Misc
Unlock Details
Complete the game with Action difficulty set to Lost in the Fog. Lost in the Fog only becomes available after you finish the game once. This difficulty adds more enemy encounters, increases enemy health and damage, and removes the free Health and Sanity restoration normally provided by Hokora Shrines. The best time to attempt this is usually New Game+2, when you should have stronger upgrades, more Omamoris, and access to a fifth Omamori slot. A strong setup is: Beetle – Greatly increases damage dealt to stunned enemies. Boar – Greatly improves Stamina recovery and reduces the time spent Out of Breath. Rabbit – Lets you follow a Perfect Dodge with a powerful Heavy Attack counter. Serpent – Automatically performs a Counter when the visual cue appears, but consumes Max Sanity and slows Sanity recovery. Suzuran – Makes Perfect Dodges easier to perform. Together, these make counters more reliable, improve stamina recovery, increase stun damage, and give you a much safer way to handle tougher enemies. You also do not need to fight everything. Many encounters can simply be avoided by running past enemies, so save your resources for mandatory battles and bosses. If you attempt this alongside Ending 4, expect the final boss sequence to be the longest of the available endings, but there are checkpoints during the fight so a death will not send you back to the beginning.
Tip
NG+2 is the safest route because your build will be at its strongest. If you would rather face an easier ending boss, you can instead attempt Lost in the Fog during New Game+ and aim for Ending 3.
Warning
If the game offers to lower the Action difficulty after repeated deaths, do not accept. Once lowered, you cannot raise it back during that run and the trophy will be voided.
Trophy: Grateful for a Worthy Foe
Complete the game with action difficulty set to "Hard" or higher.
Type: Bronze
Category: Misc
Unlock Details
Complete the game with Action difficulty set to Hard or higher. Finish a full playthrough on either Hard or Lost in the Fog Action difficulty. Because Action difficulty trophies stack, completing the game on Lost in the Fog will also unlock this trophy if you have not already earned it.
Tip
You can earn this during your New Game+ run on Hard, or skip directly to Lost in the Fog once it becomes available and handle both difficulty trophies together.
Trophy: Intellectual Pursuits
Complete the game with puzzle difficulty set to "Story".
Type: Bronze
Category: Misc
Unlock Details
Complete the game with Puzzle difficulty set to Story. Puzzle difficulty trophies do not stack, so you must finish a full playthrough specifically on Story Puzzle difficulty. This is best handled on your first playthrough while you are learning the game and collecting the initial set of documents and other collectibles.
Tip
Use Story Puzzle difficulty for your first run and save Hard and Lost in the Fog for New Game+ and New Game+2.
Trophy: Puzzle Master
Complete the game with puzzle difficulty set to "Lost in the Fog".
Type: Silver
Category: Misc
Unlock Details
Complete the game with Puzzle difficulty set to Lost in the Fog. Lost in the Fog Puzzle difficulty is available from the start, but it is best saved for a later run when you already understand the layouts and puzzle mechanics. Each puzzle difficulty has its own solutions, and Lost in the Fog generally gives you more obscure hints and more complicated setups. The main exceptions are puzzles in Shimizu Residence and Treasure Hall, which change based on the ending you are pursuing rather than your selected difficulty. For example, even early puzzles change considerably between difficulties. The Shrine Path Altar Puzzle uses different arrangements on Story, Hard, and Lost in the Fog, while the Shrine Vault asks you to identify entirely different symbols depending on the difficulty.
Tip
This is ideal for your New Game+2 run, where you can combine it with Clear Skies and Ending 4.
Warning
Puzzle difficulty trophies do not stack. Completing Lost in the Fog will not automatically unlock the Story or Hard puzzle trophies, so all three difficulties require separate completed runs.
Trophy: Thankful to Be Here
Complete the game with action difficulty set to "Story" or higher.
Type: Bronze
Category: Misc
Unlock Details
Complete the game with Action difficulty set to Story or higher. Simply finish a full playthrough without lowering Action difficulty below Story. Because the Action difficulty trophies stack, completing the game on Hard or Lost in the Fog will also satisfy this requirement.
Tip
You will naturally earn this during your first Story-difficulty playthrough if you follow the Platinum roadmap.
Trophy: Wise Researcher
Complete the game with puzzle difficulty set to "Hard".
Type: Bronze
Category: Misc
Unlock Details
Complete the game with Puzzle difficulty set to Hard. Puzzle difficulty trophies do not stack, so this requires its own full playthrough on Hard Puzzle difficulty. A good place for this is your New Game+ run while you are working on Endings 2, 3, and 5.
Tip
Because puzzle solutions change depending on difficulty, do not assume a Story solution will still work on Hard. The game has no problem making the same room feel like a completely different exam.
Trophy: A Dangerous Path
For whom do I tread such a treacherous path?
Type: Bronze
Category: Story
Unlock Details
Continue along the main story path until this trophy unlocks. No optional requirements are involved.
Trophy: Cleansed
Wash thoroughly before eating.
Type: Bronze
Category: Story
Unlock Details
Continue through the story until the related sequence is completed. This trophy is automatic and cannot be missed.
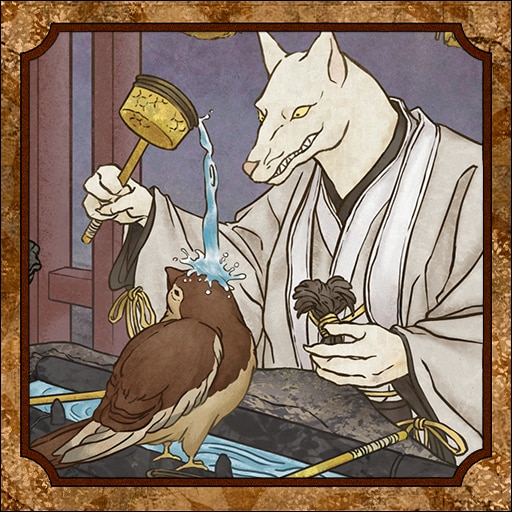
Trophy: On the Way to School
The little sparrow escapes with its friends, wings flapping nervously...
Type: Bronze
Category: Story
Unlock Details
Progress through the main story until this trophy unlocks automatically. No special actions are required, and it cannot be missed.
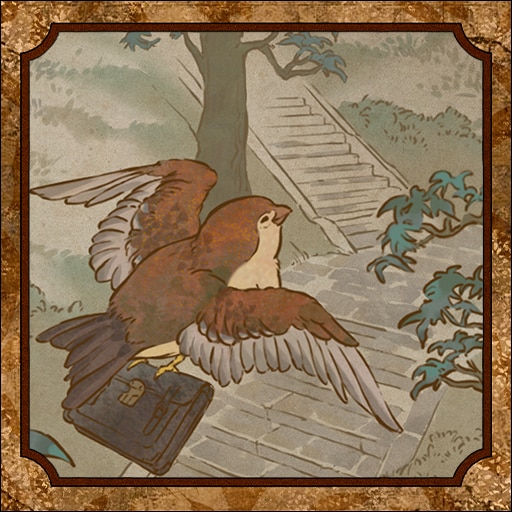
Trophy: Parting on Good Terms
Good terms? No. I'm here to burn bridges.
Type: Bronze
Category: Story
Unlock Details
Continue through the main story until this trophy unlocks automatically. No special action is required, and it cannot be missed.
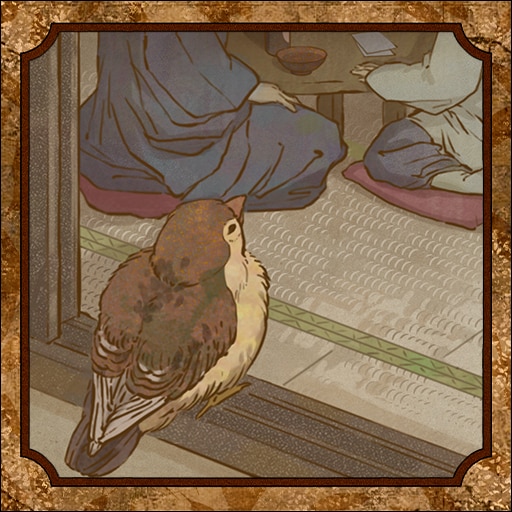
Trophy: Plucked Wings
Anything for you.
Type: Bronze
Category: Story
Unlock Details
Progress through the story until the required sequence is completed. This trophy is automatic and cannot be missed.
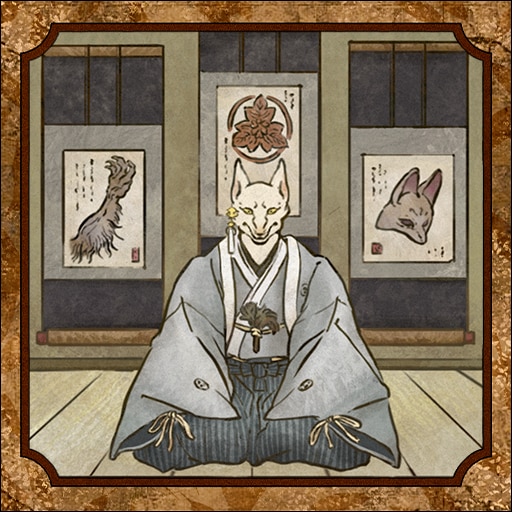
Trophy: Scarecrows' Whispers
As you bask in the sun, I sink into the shadows.
Type: Bronze
Category: Story
Unlock Details
Keep progressing through the story. This trophy unlocks automatically as part of the main path and cannot be missed.
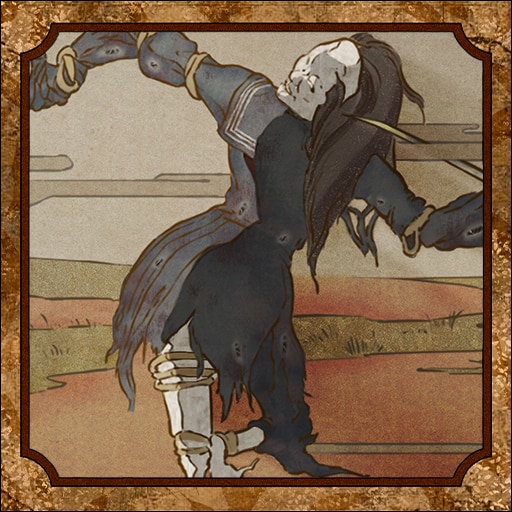
Trophy: Shell of the Past
What exactly have we learned?
Type: Bronze
Category: Story
Unlock Details
Continue through the story until the related sequence is completed. This trophy is story-related and cannot be missed.
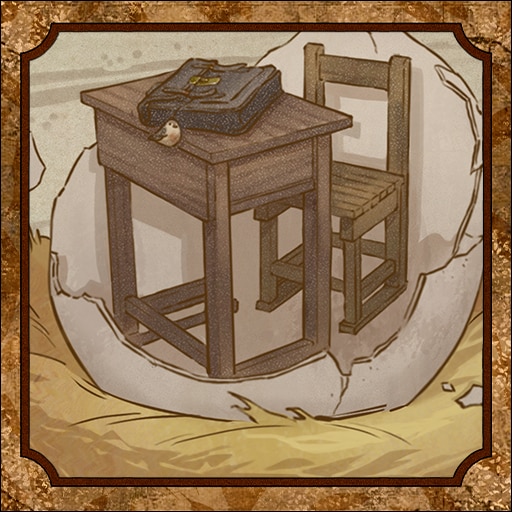
Trophy: Solar & Lunar Eclipse
Two portals open; doors to a secret world.
Type: Bronze
Category: Story
Unlock Details
Progress through the story until the related sequence is completed. This trophy unlocks automatically as part of the main path.
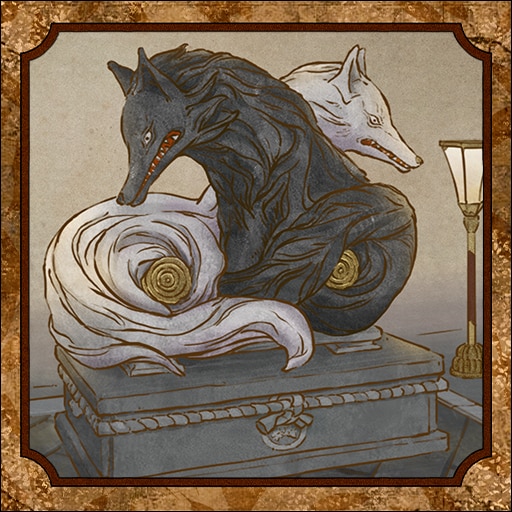
Trophy: Surrounded by Fog
The baby bird takes her first steps.
Type: Bronze
Category: Story
Unlock Details
Progress through the story until the trophy unlocks automatically. This trophy is story-related and cannot be missed.
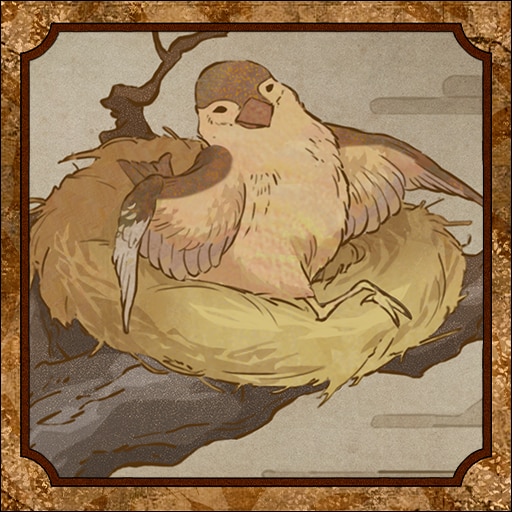
Trophy: The Farewell Party
You have no place in my future.
Type: Bronze
Category: Story
Unlock Details
Keep progressing through the main story. The trophy unlocks automatically as part of the story and cannot be missed.
Trophy: The Fox's Guidance
The fox watches over the chicken coop.
Type: Bronze
Category: Story
Unlock Details
Continue through the main story until this trophy unlocks automatically. No special actions are required, and it cannot be missed.
Trophy: The Path of Exultation
I accept.
Type: Bronze
Category: Story
Unlock Details
Progress through the main story until the related sequence is completed. This trophy is story-related and cannot be missed.
Trophy: The Path of Self-Preservation
I refuse.
Type: Bronze
Category: Story
Unlock Details
Continue through the story until this trophy unlocks automatically. No optional requirements are involved, and it cannot be missed.
Start your first playthrough on Story Action and Story Puzzle difficulty. Lost in the Fog Action is not available yet, and puzzle difficulty trophies do not stack, so this gives you the cleanest starting point.
Use this run to collect everything available on a fresh playthrough and knock out as many miscellaneous trophies as possible. Most collectibles can be recovered later in New Game+, but a few are especially important because missing them can force an extra run.
Make sure you collect Sakuko’s Diary (1), (2), and (3) in the Worship Hall. Their locations are replaced by new diary pages on later playthroughs, so skipping one can delay the full set.
Also grab Clinical Trial (1) during the fifth visit to Ebisugaoka. Only one Clinical Trial document appears per playthrough.
Ending 1 is the only ending available during your first run, so there is no need to worry about ending choices yet. Focus on exploring, learning the combat, and clearing your first collectible sweep.
During the Ending 1 boss, make sure you earn The Bird that Flies Highest. If you miss it, you would need to trigger Ending 1 again just to retry that boss requirement.
Once the game is finished, create a separate Clear Save File. Do not overwrite it.
Load your Clear Save to begin New Game+ and set Puzzle difficulty to Hard.
New Game+ carries over Faith, stat upgrades, Omamoris, non-puzzle documents, and certain key items. It also opens new areas, new collectibles, and additional endings.
This run should focus on Endings 2, 3, and 5.
Do not use any Red Capsules during this playthrough. Avoiding them is required for Endings 2 and 3.
Use manual saves before major ending decision points so you can reload and trigger multiple endings without replaying the whole game.
Make sure you collect Sakuko’s Diary (4), (5), and (6) in the Worship Hall, along with Clinical Trial (2) during the fifth Ebisugaoka visit.
Ending 2 has the Puppetmaster trophy tied to its boss, while Ending 3 has Fox Tamer. Make sure you earn those during their respective fights or keep a manual save nearby so you can retry without replaying the ending setup.
You can also choose to tackle Lost in the Fog Action difficulty during this run, but it will be tougher. You will not yet have the Sacred Sword for most of the game, and your upgrades and Omamori collection will still be incomplete.
If you want the smoother route, save Lost in the Fog Action for New Game+2.
Before finishing this run, try to save one Ema instead of spending everything. That extra Ema can be used immediately in New Game+2 to unlock the fifth Omamori slot, which is much more valuable than squeezing out one more stat upgrade early.
When you finish Ending 2 or Ending 3, create another separate Clear Save. You need a Clear Save showing Ending 1 plus either Ending 2 or Ending 3 in order to unlock Ending 4 later. The UFO Ending does not count toward this requirement.
Load a Clear Save with at least two full endings completed and start New Game+2.
Set Puzzle difficulty to Lost in the Fog. This is also the best time to complete Lost in the Fog Action difficulty because Hinako will be much stronger than she was on previous runs.
New Game+2 introduces more items and areas, lets you finish the remaining document sets, and gives you access to Ending 4.
Actions completed during the previous New Game+ run also carry forward. This means you can obtain the Sacred Sword much earlier, starting around the second Jizo Statue, and you will not need to repeat the Crimson Water puzzle to purify it.
If you saved an Ema from the previous run, use it immediately to unlock your fifth Omamori slot.
A very strong Lost in the Fog setup is:
Beetle – Greatly increases damage against stunned enemies.
Boar – Greatly improves Stamina recovery and shortens the Out of Breath state.
Rabbit – Lets you follow a Perfect Dodge with a powerful Heavy Attack counter.
Serpent – Automatically performs counters when the visual cue appears, at the cost of Sanity.
Suzuran – Makes Perfect Dodges easier.
Together, these give you easier Perfect Dodges, automatic counters, stronger follow-up attacks, better damage against stunned enemies, and faster Stamina recovery. In other words, the game is still trying to kill you, but now you are much better equipped to take that personally.
Use known solutions for Lost in the Fog puzzles if needed. This is not the playthrough to spend 40 minutes staring at a shrine wondering whether the game secretly wants your tax return.
Finish the remaining collectibles and trigger Ending 4 to complete the main Platinum route.
If everything went according to plan, you should only need three full playthroughs plus partial reloads for the different endings.
Your first run handles Story difficulty, the initial collectible set, Ending 1, and The Bird that Flies Highest.
New Game+ handles Hard Puzzle difficulty, the second wave of collectibles, Endings 2, 3, and UFO, plus Puppetmaster and Fox Tamer.
New Game+2 handles Lost in the Fog Puzzle difficulty, preferably Lost in the Fog Action difficulty as well, the final collectibles, and Ending 4.
Keep separate Clear Saves after major completions instead of relying on one file. The ending system and New Game+ progression are much easier to manage when you have safe checkpoints to return to.
If you miss a miscellaneous trophy or a required document, load your New Game+2 Clear Save and begin another run for cleanup. The main thing to avoid is missing the rotating diary and Clinical Trial documents, since those are the mistakes most likely to turn a short cleanup into an entire extra playthrough.
Completion Video Playlist
1 video
SILENT HILL F - Platinum Walkthrough 1/24 - 100% ALL Collectibles & Endings